Making an 'Amazing Fit Dress' from Simplicity
Simplicity 8543 Amazing Fit Dress

This is a Simplicity Amazing Fit Dress if you have not made an Amazing Fit pattern before then you should.
This pattern has a choice of sleeves, a shaped midriff and a flattering neckline.
More importantly it has many different size variations within the pattern.
It comes in two choices of size ranges, 10-18 and 20-28.
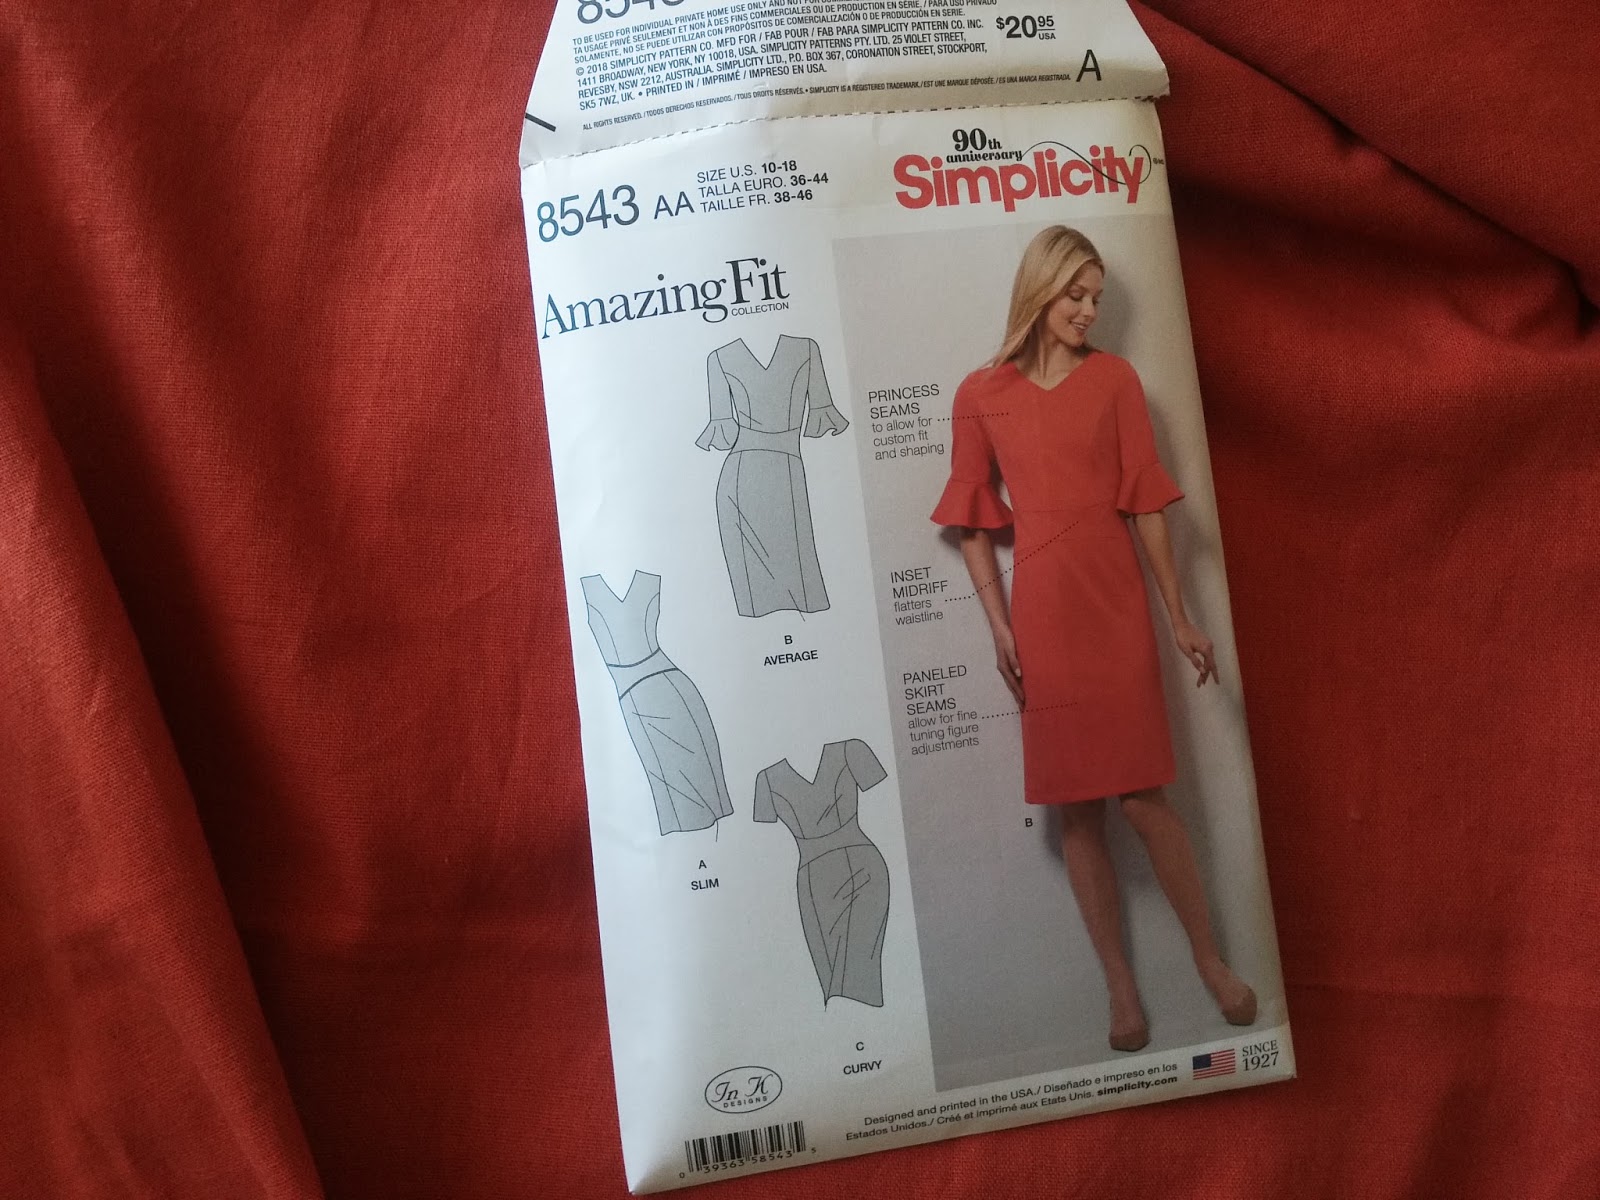
The princess seams are very flattering for any figure and you have the option of sleeveless or a short sleeve - with or without a flounce.
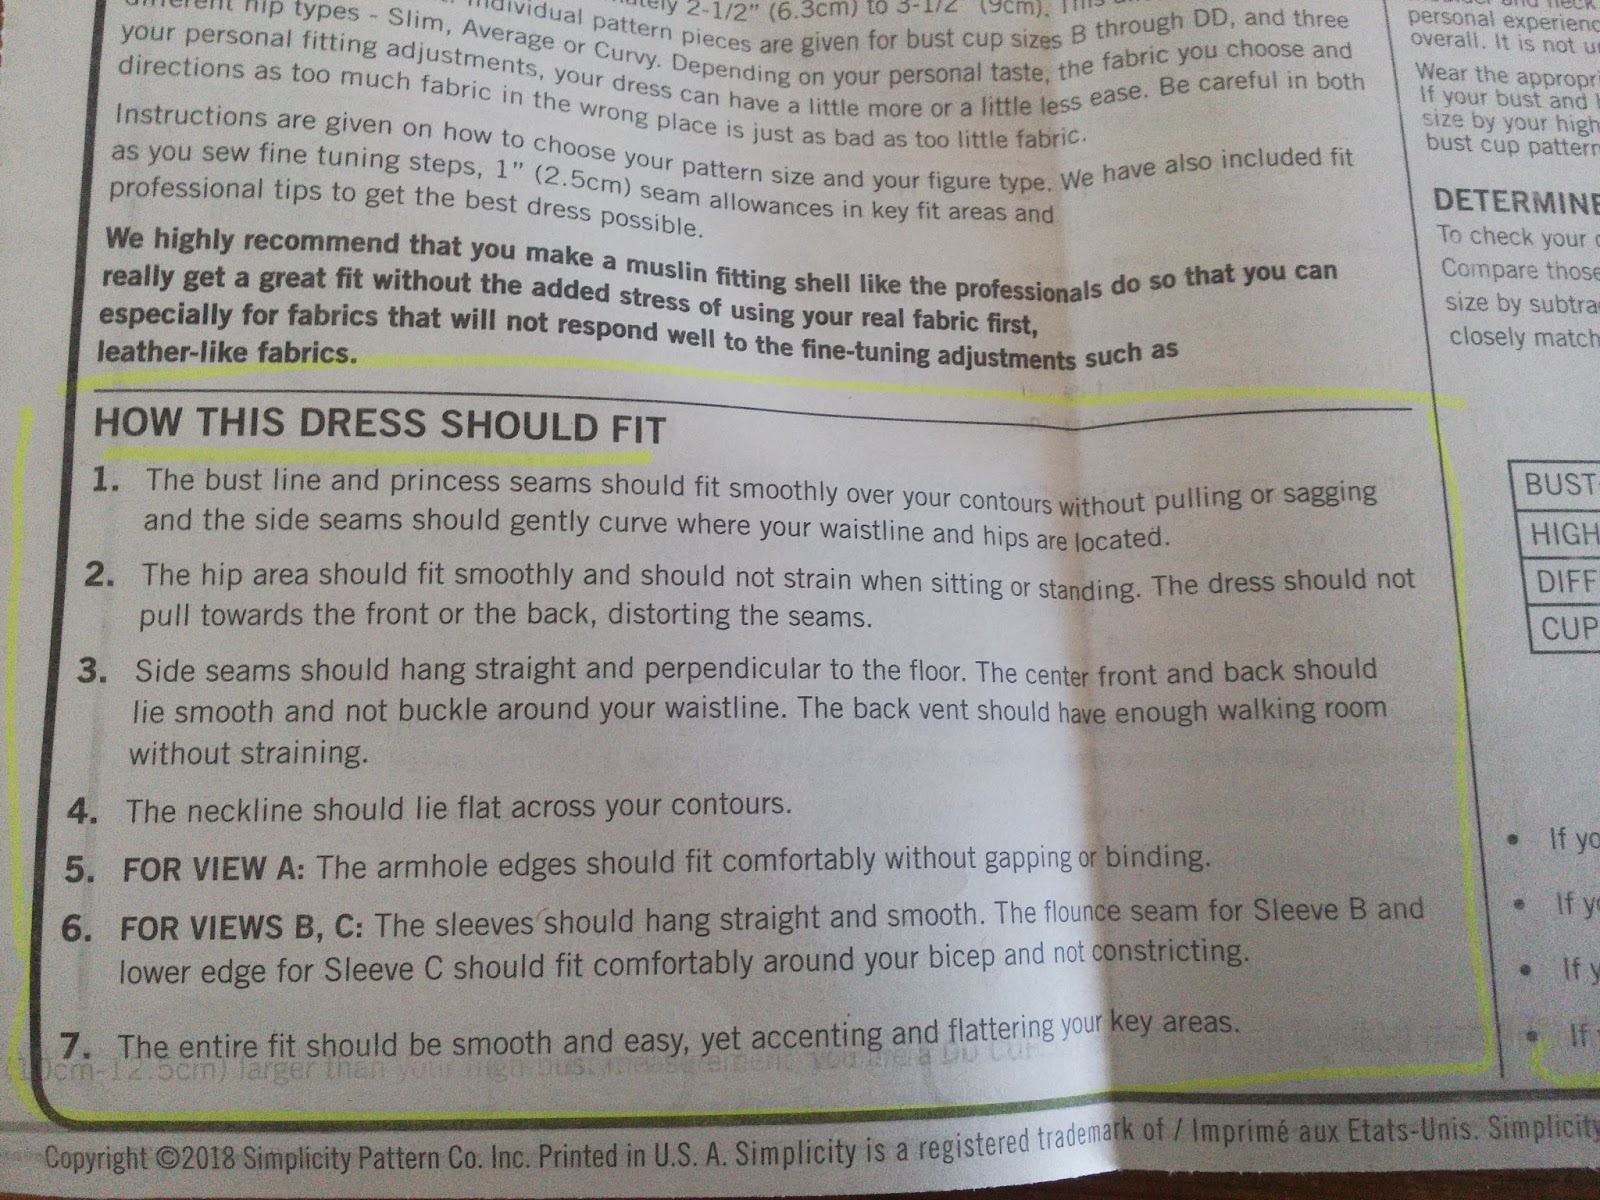
The pattern gives comprehensive instructions on how the finished dress should look on your body, so I do suggest reading the pattern thoroughly before you get your scissors out!
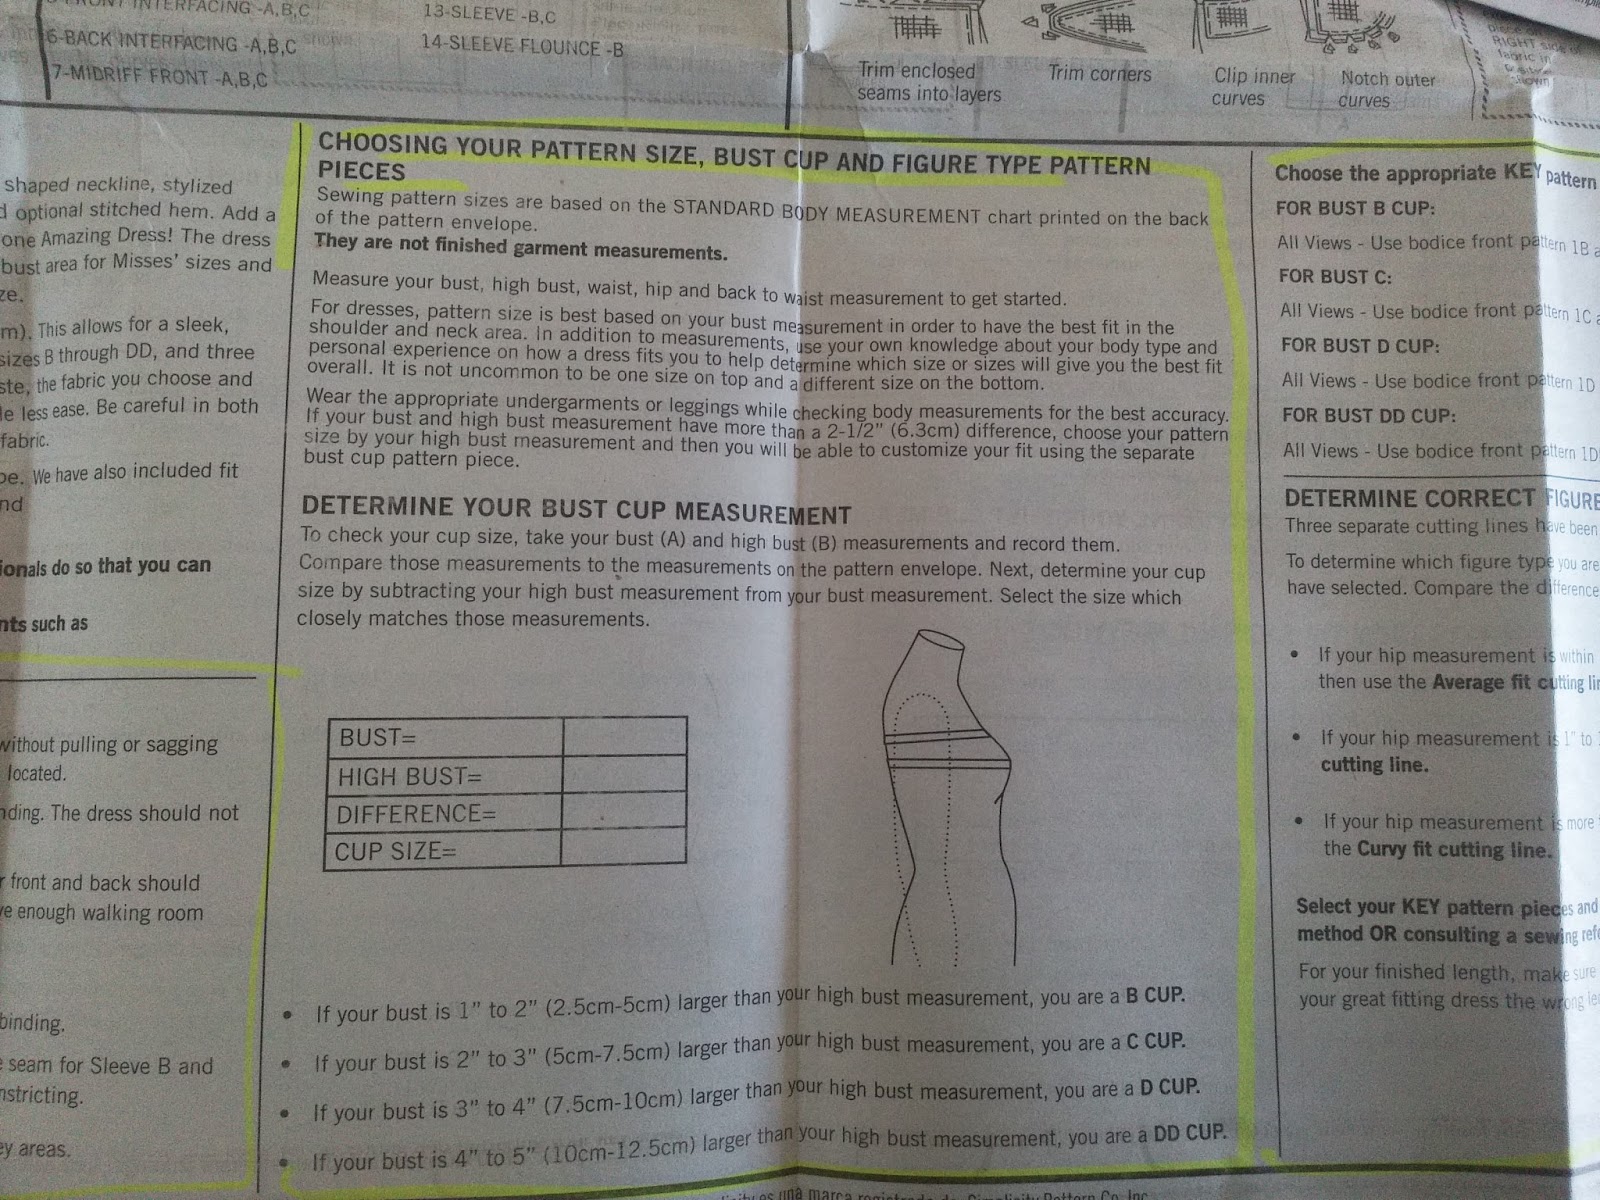
The pattern has a very good guide on how to choose your correct pattern size and how to take your measurements.
There are separate pattern pieces for A to DD on the pattern size I chose which is the option for sizes 10-18. And there are also separate pattern pieces for slim, Average and Curvy fit.

Once you have determined your correct size - don't just guess - cut out the pieces you need. There are plenty of fitting variations within the pattern.

I took my measurements and determined that I am a size 10, C cup, average fit. I found out later that this was too big, but more about that later.
Instead of jumping right in the pattern instructions suggest that a toile is made. Not wanting to cut my pattern at this stage in case I needed to alter it I made a copy using
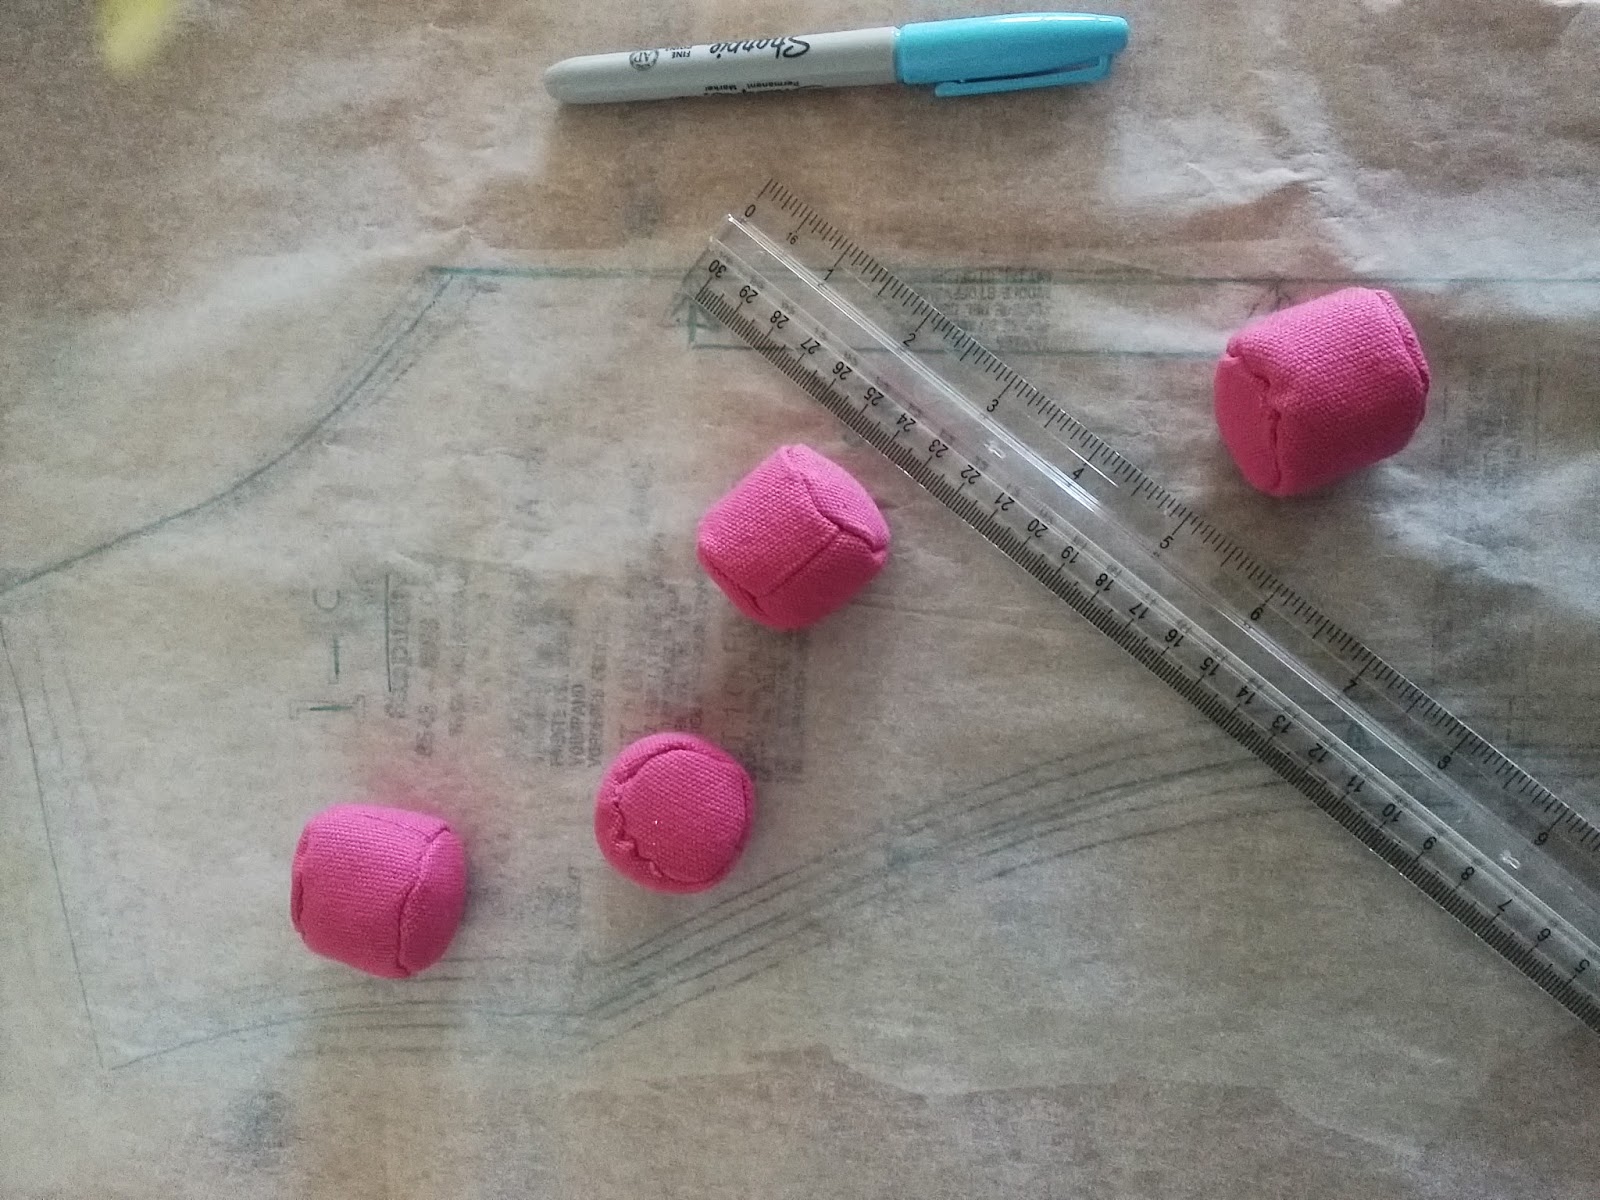
Tracing Paper a ruler and Pattern Weights
I took a piece of fabric which I didn't want and cut the pattern out. I did not cut out facings or sleeve flounce as they are not needed for a toille. The idea of making a toile or test garment is to just tack together the main pieces for fitting purposes.
I really do feel that this is a very important stage and should not be missed out. It really is worth the extra effort.

You can either hand tack the pieces together or do as I did and use the Basting Stitch on my sewing machine
The manual gave me the correct settings and it was quick and easy to put the garment together this way.
My sewing machine is the amazing Brother Innov-is 1300 and I love it. I wrote a review about it if you would like to read it. Review of the Brother Innov-is 1300 it isn't machine I would certainly recommend to anybody. If you are interested then give Jaycotts a ring and have a chat about it.

The machine is so easy to use. The large LCD touch screen shows the selected stitch, the foot you should use and options for stitch length, width and tension.
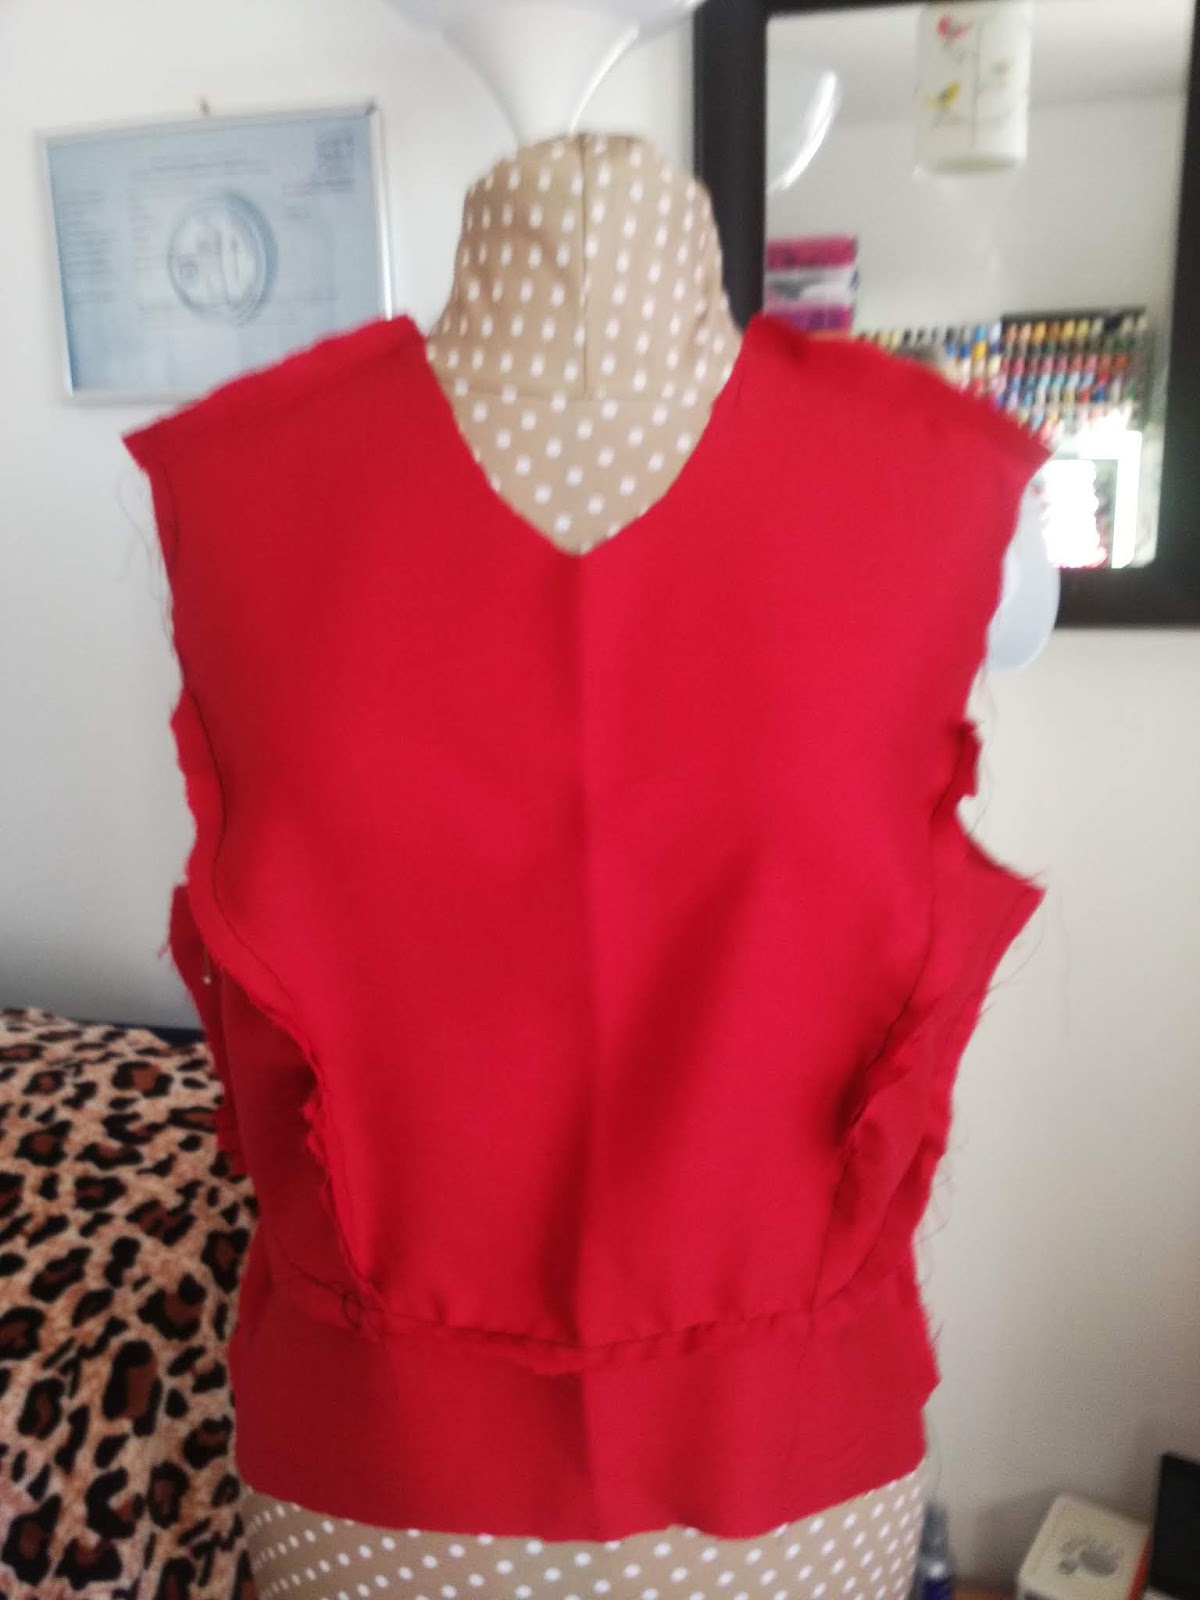
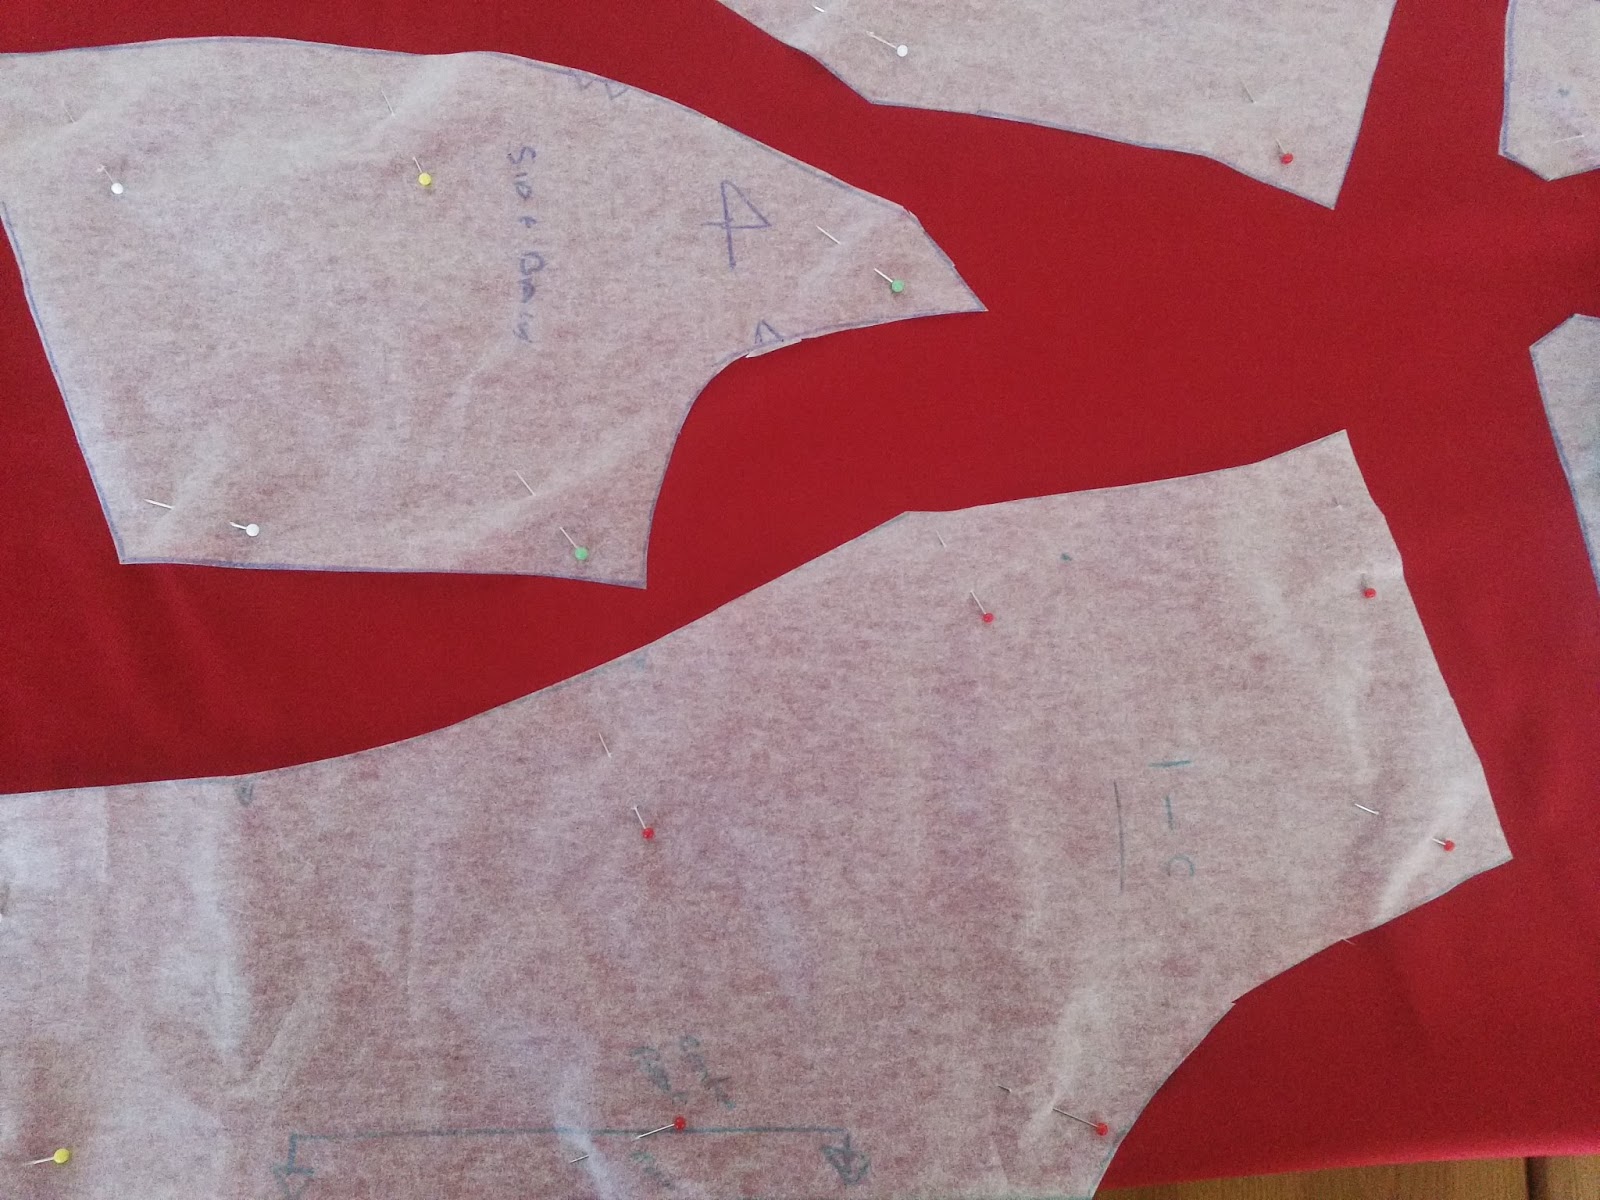
This is the toile of the bodice. Hmm, in true Angela style it is far too big!
The reason I am having a situation with sizing at the moment is that I changed my diet to eating healthy food. The result of that is that I have dropped two dress sizes. I didn't intend losing weight, it just happened. Unfortunately ( or fortunately depending on what I am making) I was trained as a Tailor and it was drummed into me to always cut larger seam allowances, so " just to be on the safe side" I always add extra wriggle room when I am cutting out. I wish I wouldn't! I wish I would trust my measurements!
Also this pattern has a large seam allowance in key areas of 1" - almost twice the usual seam allowance of 5/8" . Plus it has a large amount of ease.
The result was that it didn't fit me anywhere at all!

So, back to the drawing board. I made three test garments in all and ended up with a much smaller size. I remembered to tack each stage and try it on for fit as I went along.
The fabric I chose is a pure linen which frays notoriously and I did not want any strain at the seams or the seam would disintegrate with wear, so I did not make it too close fitting.
Had I chosen a cotton fabric instead I would have made the skirt closer fitting.
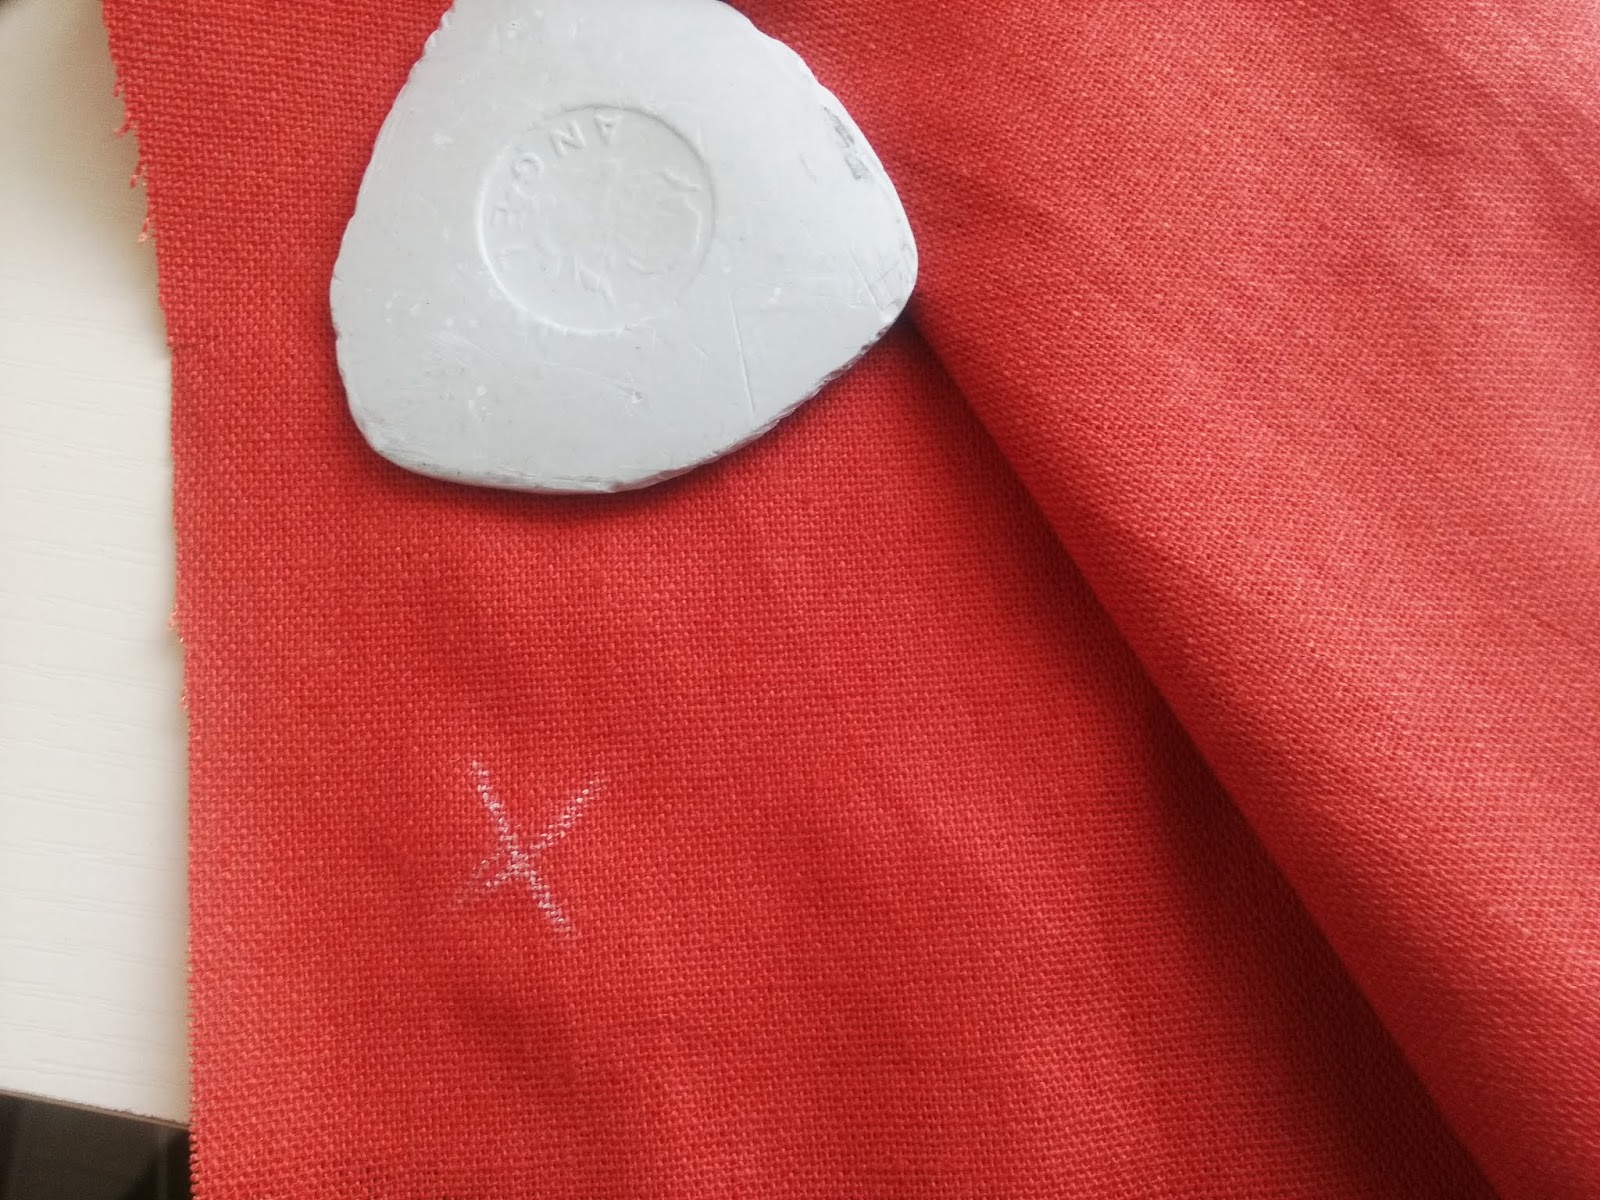
The fabric looks similar on the right and wrong sides so to make sewing the garment easier I used a cross in ordinary Tailors chalk on the wrong side of each piece.

Make the garment in stages, first the front bodice, attach the front skirt then do the same for the back.

The midriff panel called out for a touch of embroidery - any excuse to use my Brother Innov-is 800e embroidery machine.
I chose a very simple design which I have actually used before. The machine has many designs already built in, but there are plenty to download off the internet and many are free.
Jaycotts do stock some embroidery designs so please telephone for more details. They also sell a wide range of stabilisers and accessories.

The stabiliser I used is Film-O-plast. This is a self adhesive stabiliser which is very useful when the fabric you want to embroider is slightly smaller than the hoop you need to use. Do make sure that the fabric is very secure though because if it moves around your design will pucker.
I absolutely love this Multi purpose screwdriver it actually revolutionised my embroidery as it is now very easy to tighten the screw on the hoop which makes for much better embroidery. If you have a Brother machine please seriously consider buying one - they are worth every penny.

If you didn't want to embroider the midfriff then consider piping at the top and bottom edge or even using a contrast fabric.

This is my dress front sewn, all seams neatened and pressed.

There is a pleat in the back which I neatened with a double folded hem. Tack the back together .

At this stage I tacked the rest of the dress together for another fitting. I do confess again that it was still too large so I was glad that I had given myself the opportunity of making some more adjustments now before it was machined together

I also found that the back was a bit too loose, but be careful how much you take the dress in on the bodice because you do need wearing ease so that you can move your arms about. Also check that you can sit down comfortably.

Slight ( big!) adjustments made, I stitched the back dress together and inserted a zip. Either insert a regular zip or an invisible zipper, Dress Zips which ever is your preference.
Jaycotts have the best selection of zips at the best prices I know, so they are my number one choice for any type of zip.
I wanted to add the sleeve flounce but thought better of it in the end because my fabric creases so much and it wouldn't look too great if I was wearing a jacket over the top and wanted to take it off.
So I thought that I would make a double hem and add an embellishment.

My sewing machine has 182 built in stitches, but don't just take my word for it, read my review and then call in at Jaycotts to try one for yourself, you will be amazed.
The square feed drive system means that it can stitch extra wide decorative stitches, and it was one of these I chose to edge my sleeves.

You need to change your foot to the ( included) monogram foot . This has extra room to accommodate the needle movement and allows you to see what you are doing easily.

It might seem odd at first using one of these extra wide stitches so do practise before putting it on your actual garment.
I quickly discovered that the decorative stitch was perfectly placed if I aligned the foot to the edge of the sleeve when the needle was at its furthest point to the right. It does move around a bit. Once you have seen the machine sew this type of stitch you will easily see what I mean.
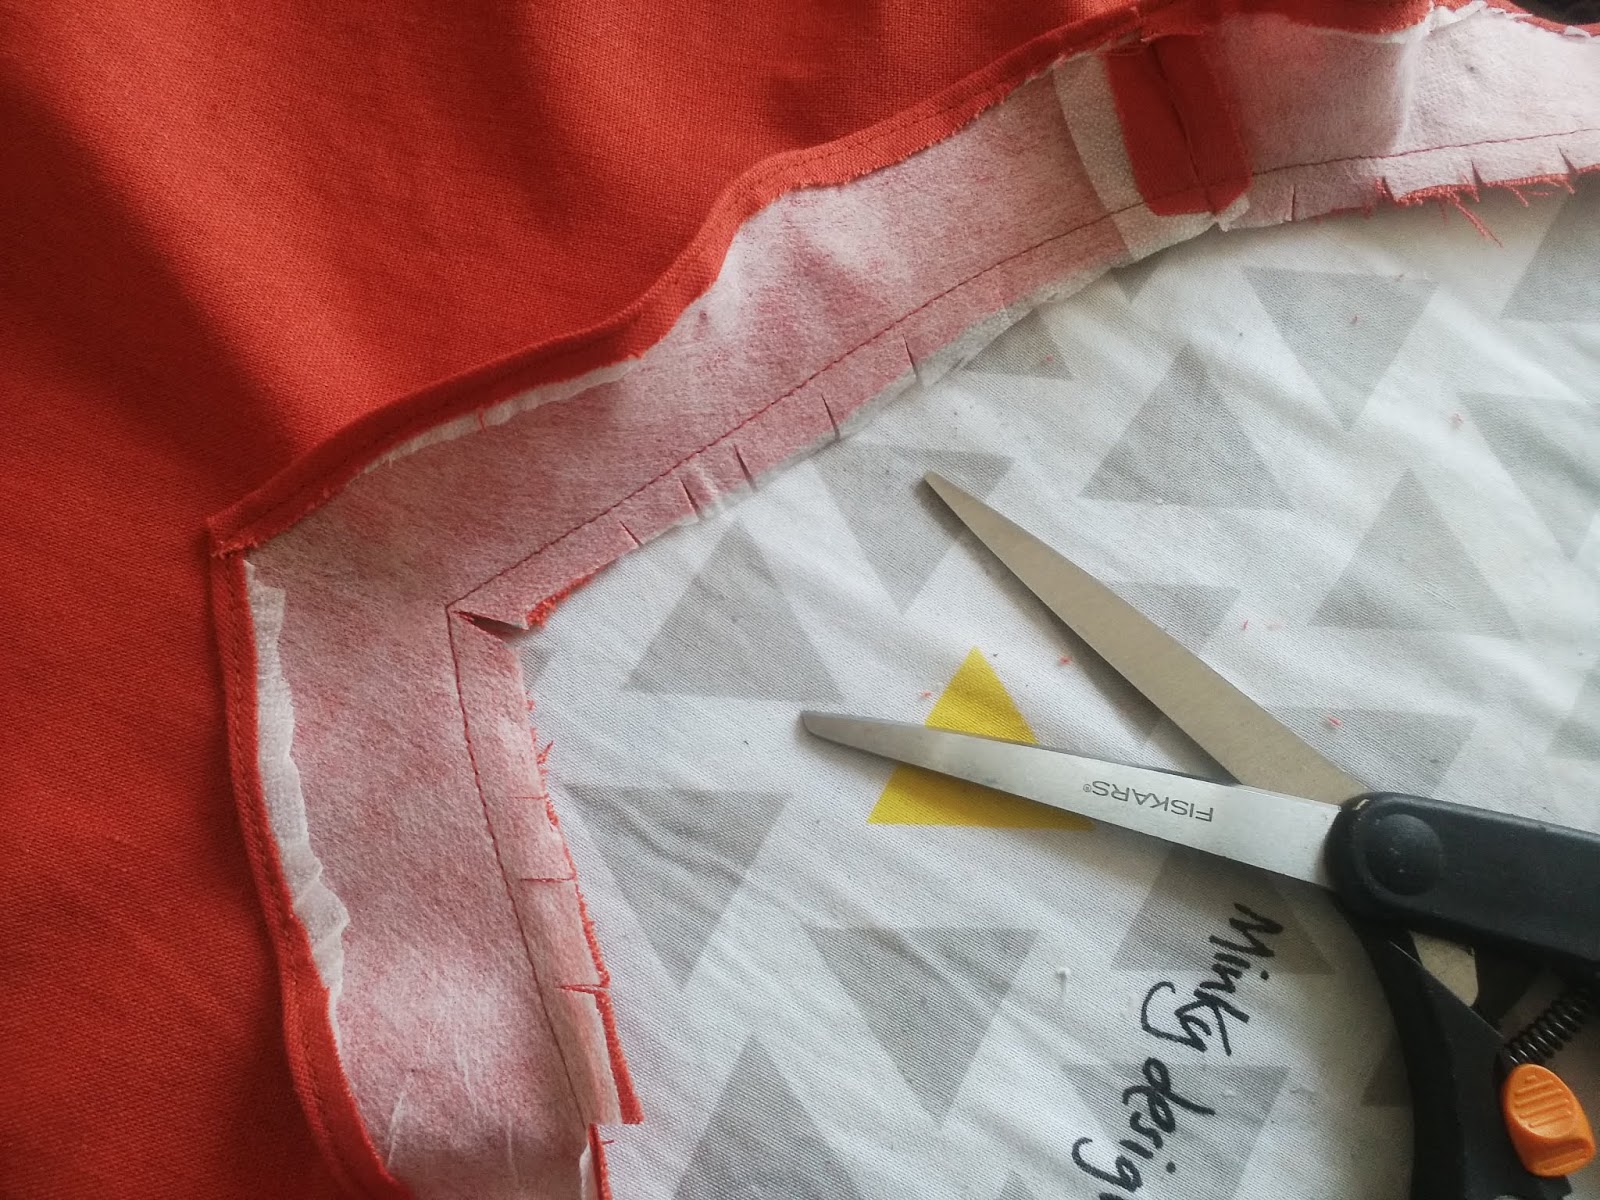
The facings are next. Do clip into the centre front down to but not through the stitching and clip the curves too
Press the seam open and then press the facing to the inside. The pattern instructions are very clear on what to do.
Do keep trying your dress on, it is the only way to get a perfect fit.

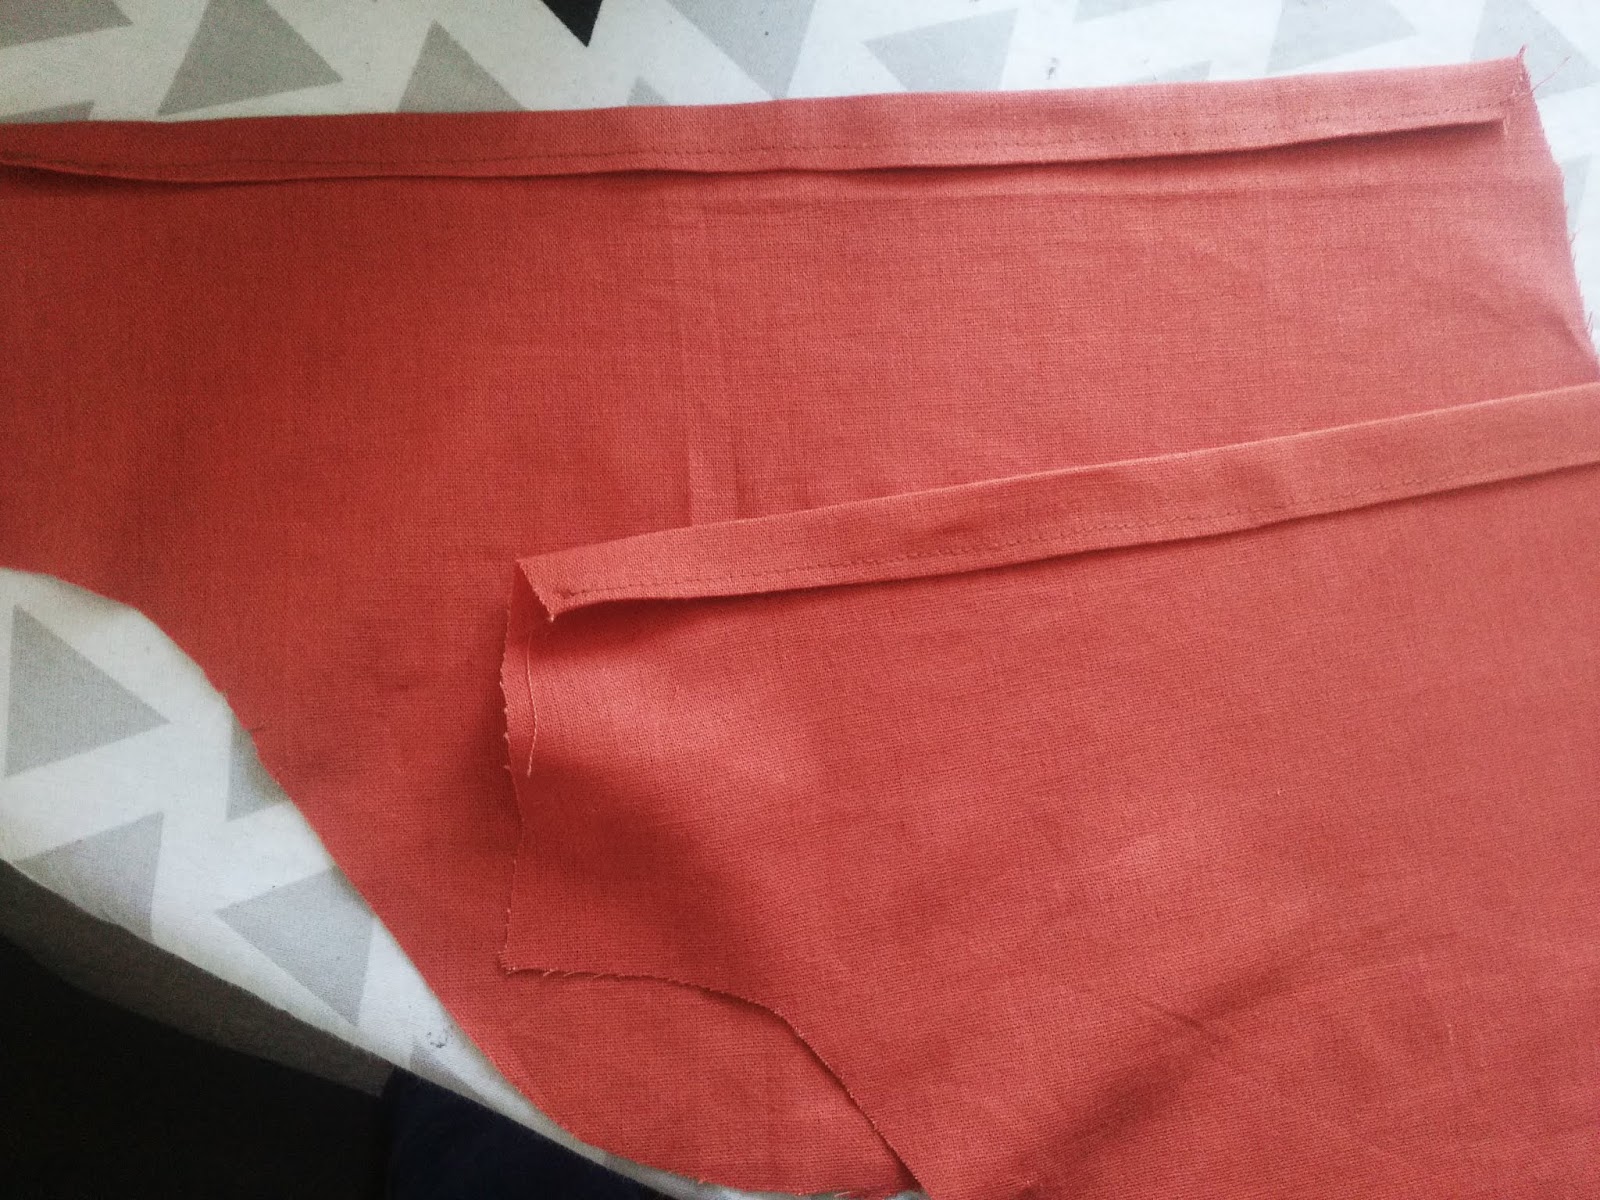
I wanted to hold the facing in place but I did not want any topstitching to show on the right side.
The answer is to understitch the facing to the seam allowance. The arrow on the above picture shows the understitching on the inside but not on the outside. Again, the pattern explains exactly how to understitch.

The bodice looks very neat, the seams are all perfectly matched and it fits well.
I finished my hem with a double hem just like I finished the sleeve hem.
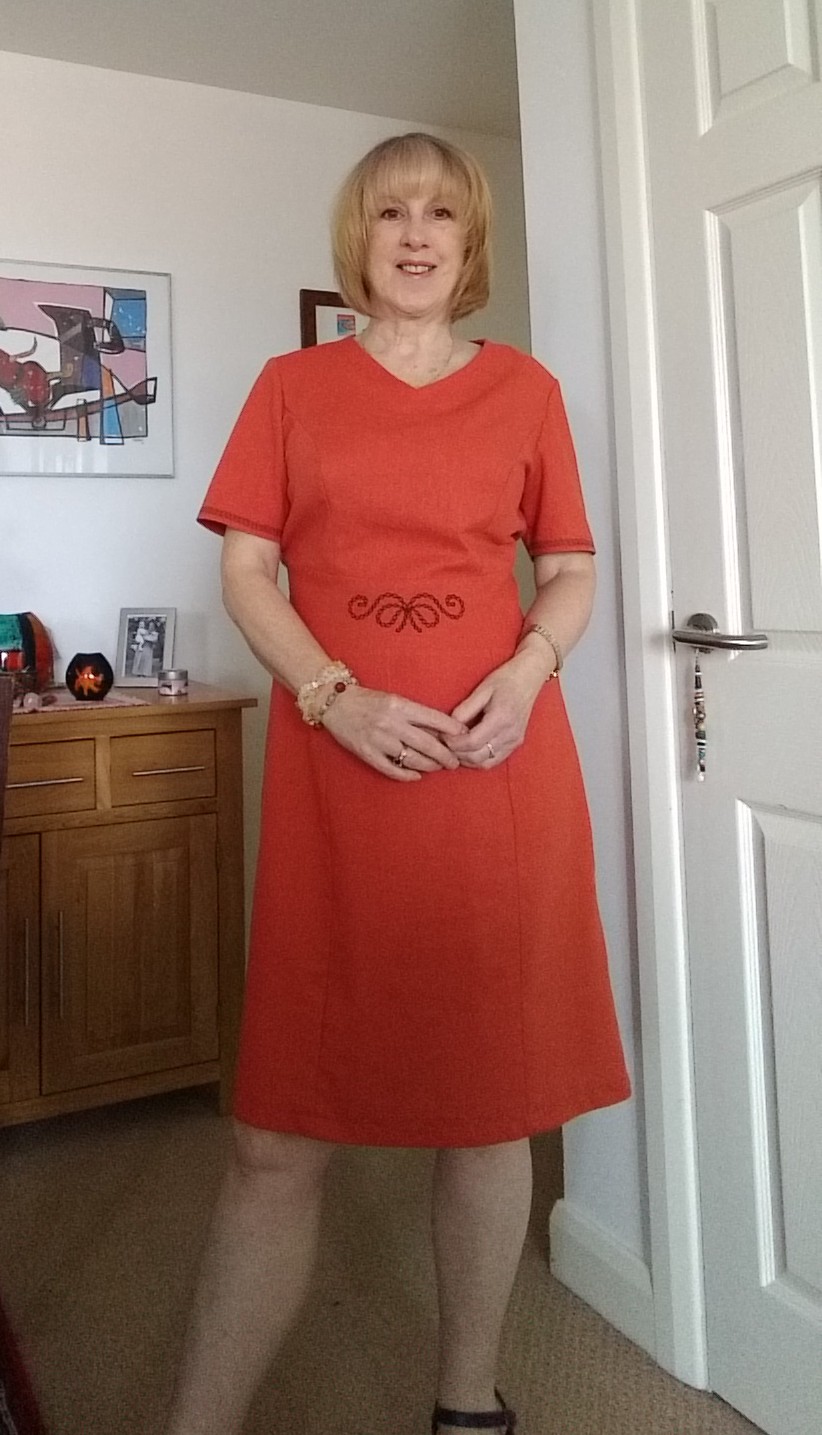
This is a lovely pattern, it teaches you the correct way to achieve a garment which fits perfectly every time. The skills learned can now be used every time you sew something and it will always fit perfectly.
For information on any of the products featured, or to place your order or for more details of the fabulous range of machines give them a ring during opening hours on 01244 394099
Alternatively use the contact form Contact Jaycotts
Thank you for reading this post, I would appreciate your feedback.
Angela