Lining a Dress
Lining a dress
There is nothing quite like a fully lined dress. It feels special and it looks special. Adding a lining to a dress makes it feel wonderful, it hangs better, it lasts longer and when you choose the right type of lining it swishes when you walk. As a bonus your dress will look just as good on the inside as it does on the outside.
It is definitely something which you must do for a special occasion dress but why not line a day dress and see how wonderful you feel when you wear it.
This pattern includes a lined bodice and if you choose the straight skirt a lining is included. It is however very easy to add a lining to the full skirt version

I chose a bold printed linen and cotton mix fabric which is widely available. This particular fabric was from Abakhan Fabrics. Linen on its own creases badly but the addition of cotton helps to prevent it happening quite so much. Other fabric choices are cotton lawn and viscose. Whatever you choose for this full skirted version it needs to drape well. If you are going to make the dress with the straight skirt then your fabric choices are almost endless, why not try a brocade for a cocktail dress or a slub silk for a wedding?
I used the same fabric to line the bodice and sleeves for coolness and comfort but I chose a good quality lightweight woven lining fabric in Navy for the skirt. This gives a swing to the skirt and makes that delightful swish as you walk.
You can use lining fabric for the bodice but remember that it will not be as cool to wear unless you pick a lining fabric made from natural fibres such as a pure silk or a cotton voile.

The pattern is by Simplicity and it is New look 6447 available from Jaycotts on this link NewLook 6447
There are options for a wide skirt or a pencil skirt and cap sleeves or sleeveless.
I cut out size 12 and it did fit well. I have a narrow back and needed to make a small adjustment during fitting, more about that later.

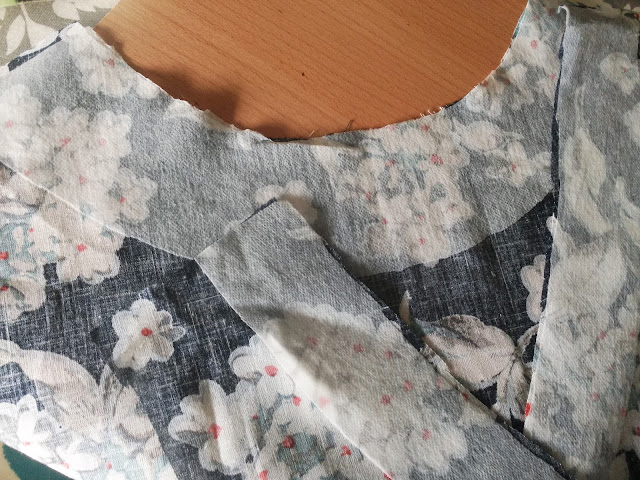
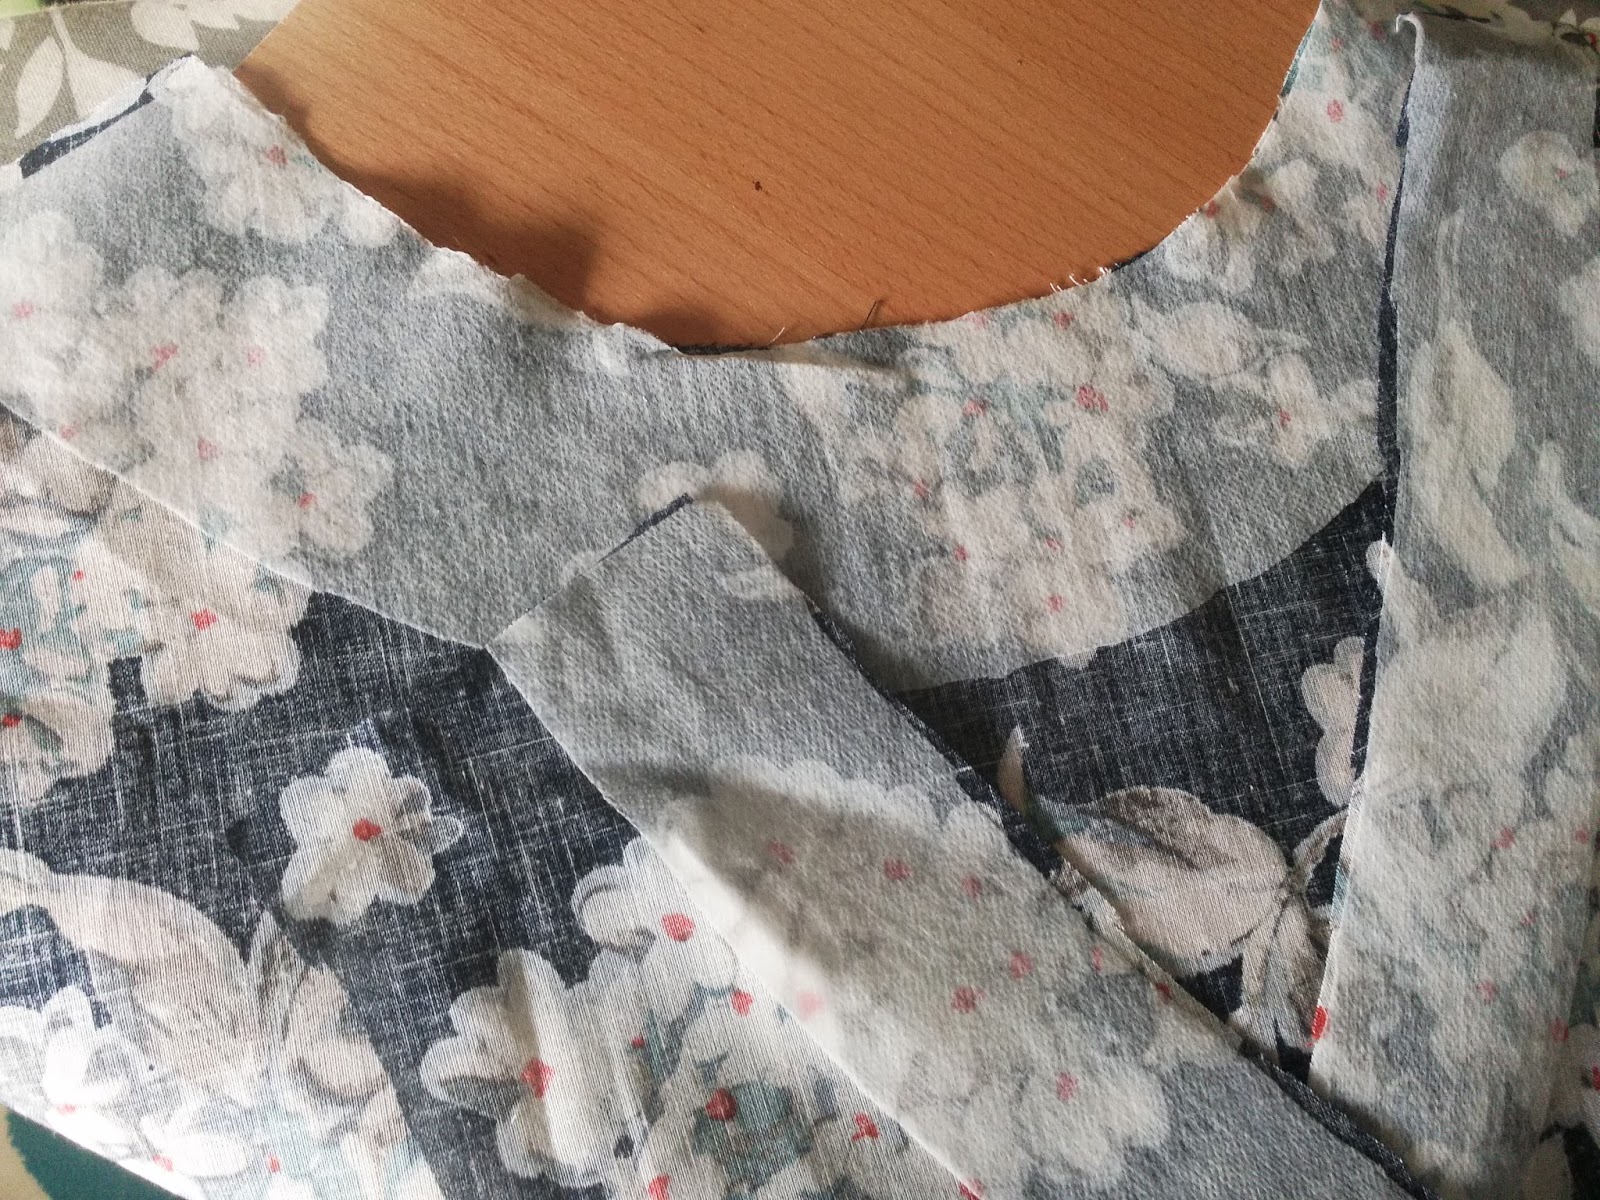
I like to get all the preparation out if the way first so the very first things I did was to stay stitch around the neckline on the bodice,this stops the neckline from stretching out of shape. Stay stitching is done just within the seam allowance.
We now need to interface the neckline of the bodice lining. For this you need a good quality iron on interfacing Interfacings. For this type of fabric I would choose a lightweight iron on. It is useful to purchase a small supply of various types and weights so that you never have to delay a project because you do not have any to hand.

The pattern instructions are very easy to follow and explain each step in great detail. These are the cap sleeves which are also lined.
Remember to press every seam as you go, it honestly does make a huge difference, we want our garments to look Handmade not the dreaded homemade.
There are some pressing tools which you definitely need and some which are nice to have
I have written a blog post dedicated to Pressing, do read it and decide which tools you need. I suggest that you need
A sleeve board Sleeve ironing board
A pressing cloth Pressing cloth
A sleeve roll Sleeve pressing roll
Other items which you can add to your collection are a Tailors ham, finger guards, mini steam iron and more can be found on this link Pressing tools
If you would like to read the blog post for some handy hints and tips then it is on Jaycotts blog Pressing Matters , and also on my own blog Reviews of pressing tools
I cannot stress enough the importance of pressing, I always set up my pressing station whenever I get my sewing machine out, pretty soon it becomes second nature.
The pattern instructions are very clear and explain how to sandwich the sleeves between the bodice and the bodice lining. I do like the fact that even the sleeves are lined.

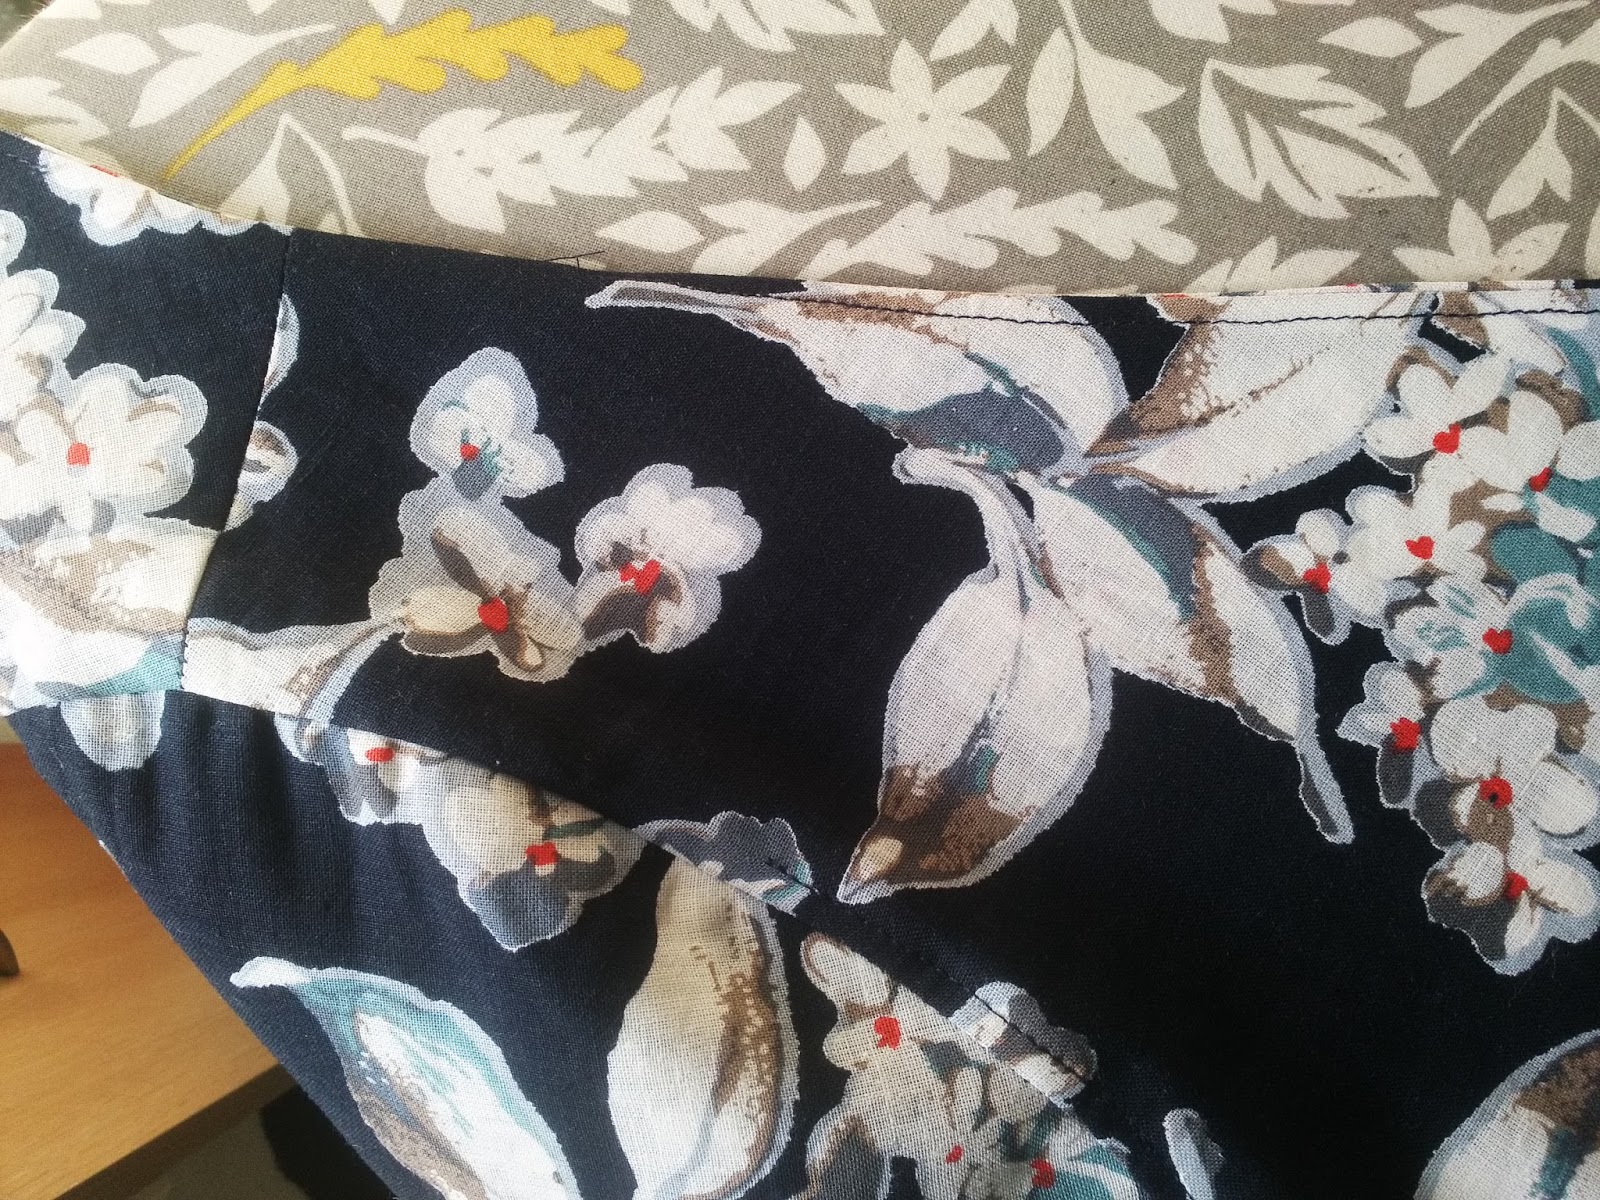
When you have stitched the bodice to the lining it is necessary to understitch the seam allowance to the lining. This helps to keep the lining in place during wear. I suggest that you grade the seam allowance by trimming the seam allowances making the side nearest to the lining slightly shorter. You then clip into the seam allowance to make sure that it lies flat she turned right sides out.
When you come to the actual stitching make sure that everything is lying flat and smooth. You will not be able to understitch the entire seam so stitch as far as you can.

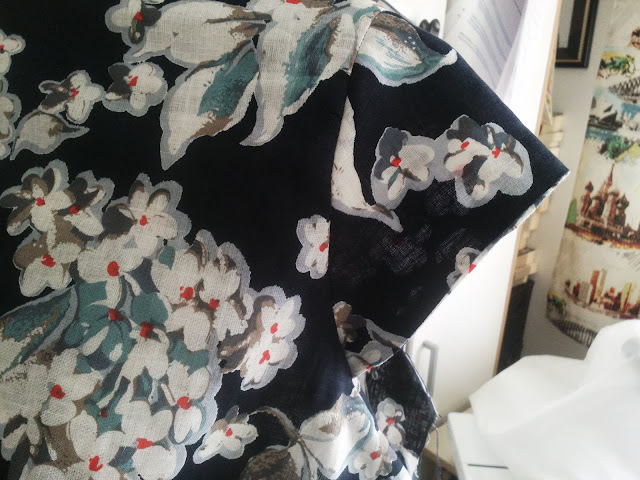
This is the inside of my dress bodice showing the understitching


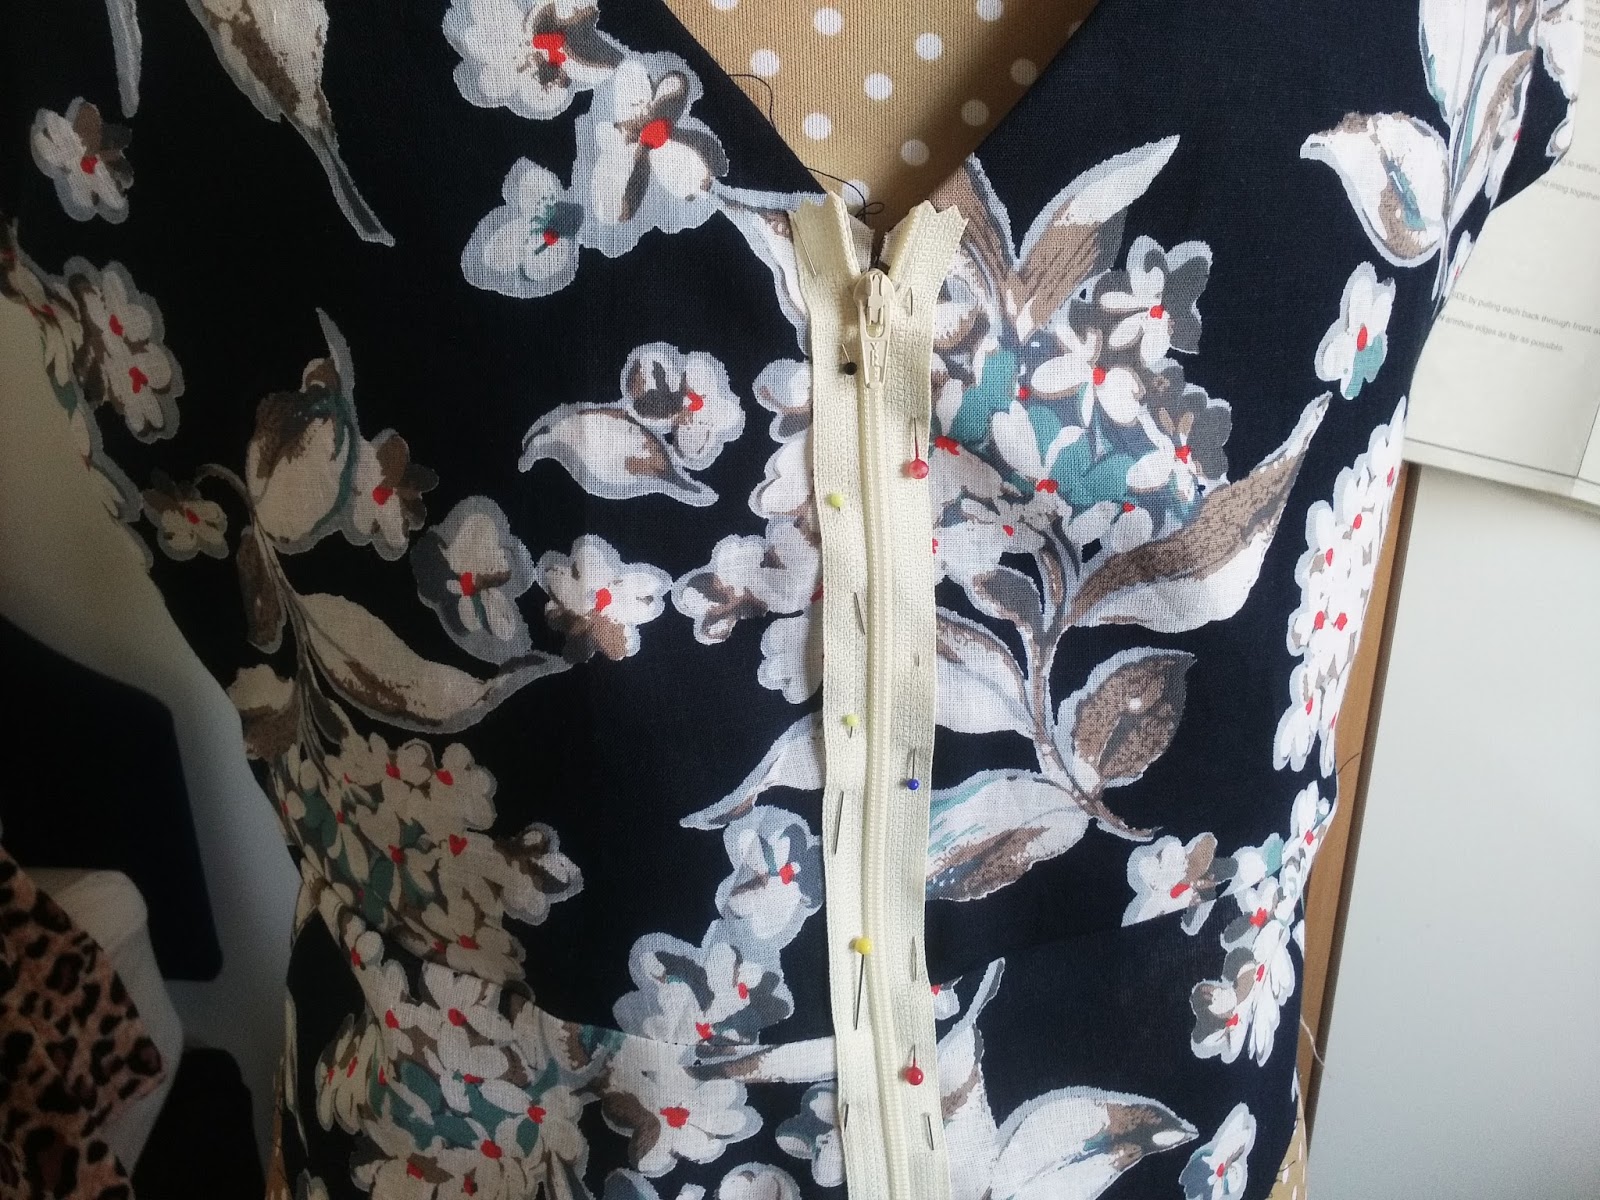
When it comes to trying the bodice on for fit, how do you temporarily close the back? This is what I do. I pin and tack a zip to the back of the garment. It doesn't matter about the length of colour or type of zip,all that matters is that you can close it. It doesn't take long but does help to create a good fit.
I have a narrow back and I suspected that the dress may not fit at the back. I was right! I adjusted the positioning of the zip until I was happy and drew a new seam line. Do be careful not to take off too much of the seam allowance or the garment will be too tight.
This is the only alteration I needed to make to this pattern.
Jaycotts have a huge selection of zips, I used a concealed zip but you may wish to use a lapped or centred zip. ( More about them in a future blog post) do look at this huge selection of zips for all purposes Zips , zips and more zips

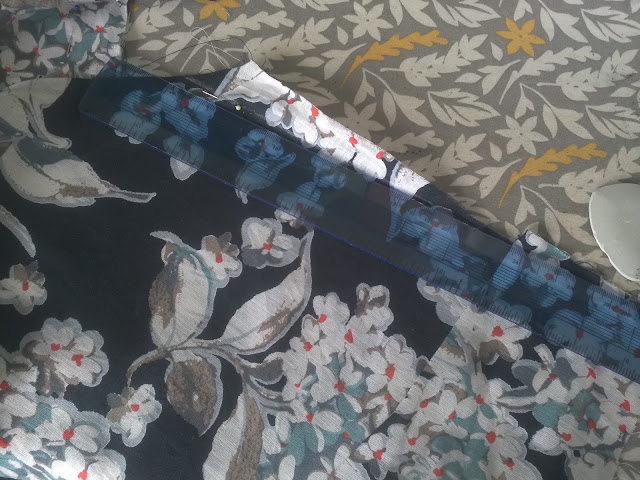
The dress was made up according to the comprehensive pattern instructions. So the bodice was lined and the zip inserted. For the skirt lining I cut out the skirt again but this time in a good quality taffeta lining. This was then stitched to the waistband and pressed.
As you can see the dress looks really good on the inside.
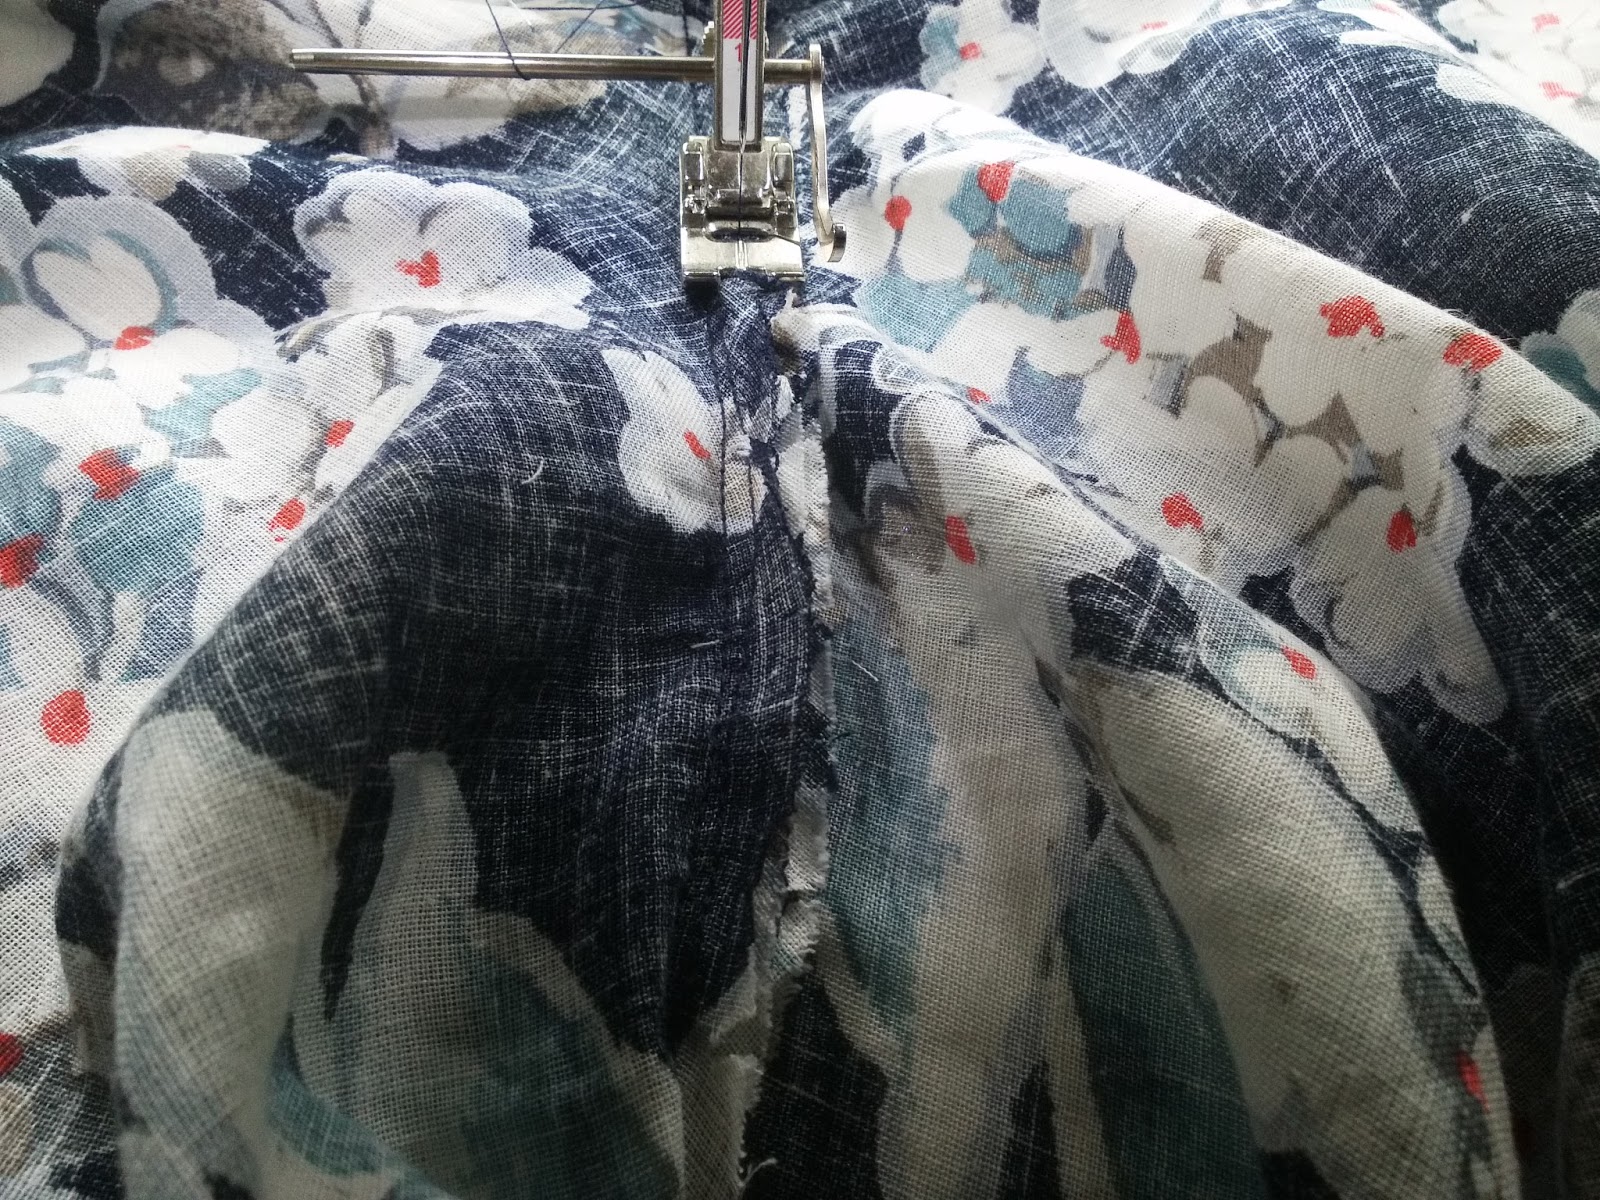
I suggest that you sew a narrow machine hem on the dress, there is a lot of fabric and it would take forever to sew it by hand. Then reduce the length of the lining by a good inch and hem that by machine in the same way.
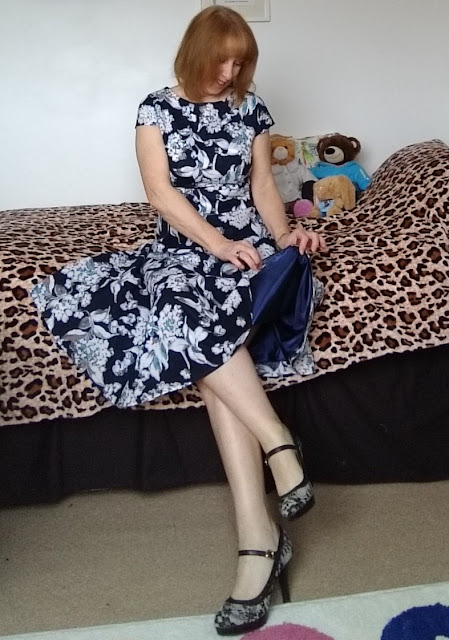
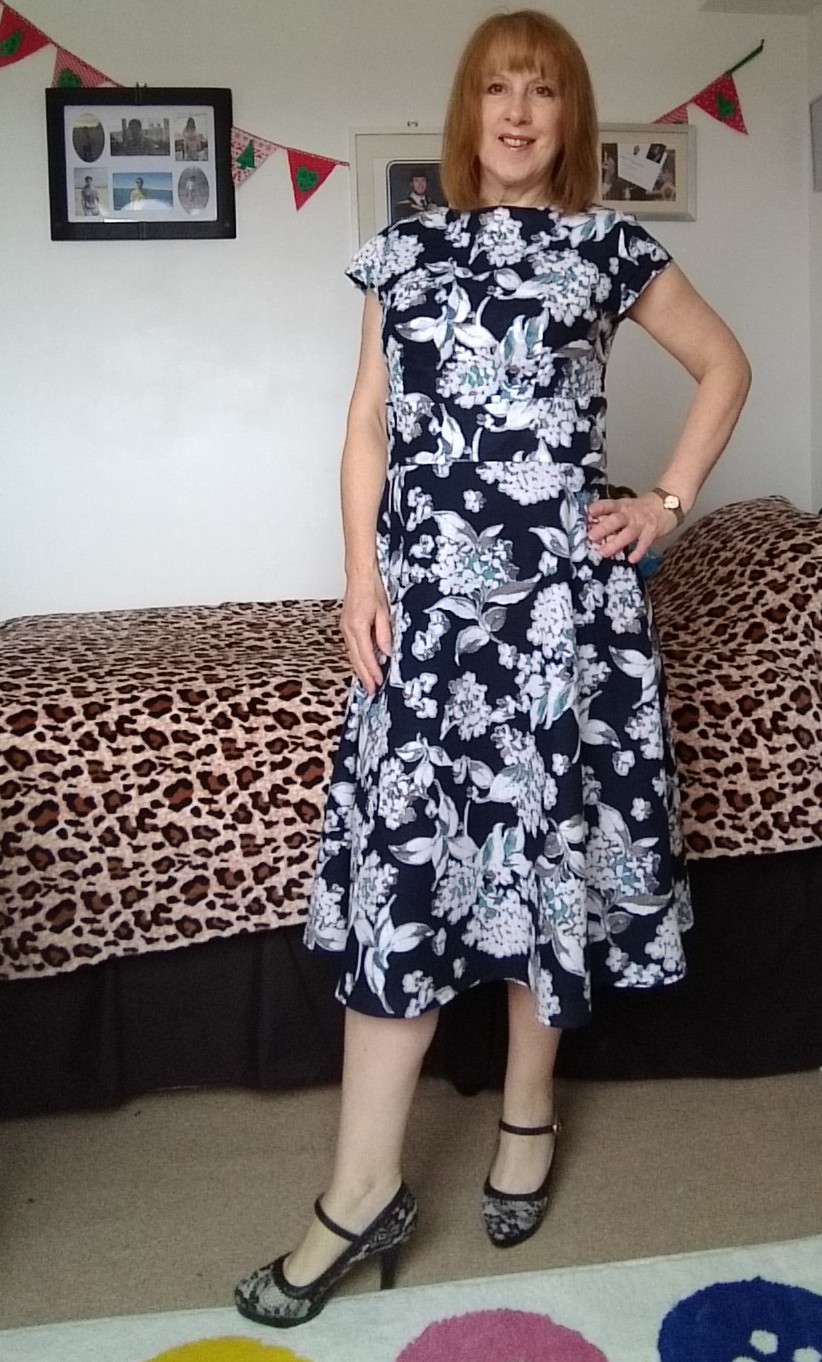
The lining is so fine that it adds no bulk to the dress whatsoever but it does support the skirt very well and gives it a really professional finish. The skirt hangs exceptionally well with the inclusion of a lining.
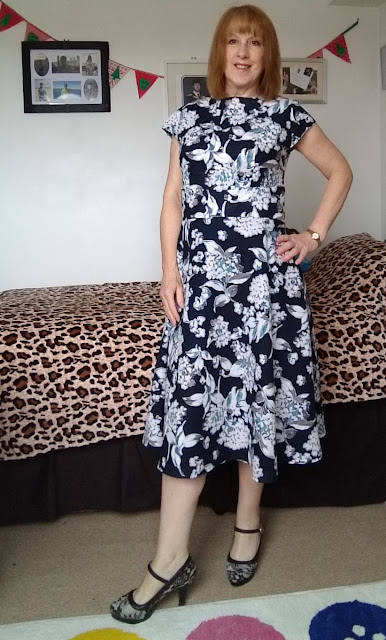
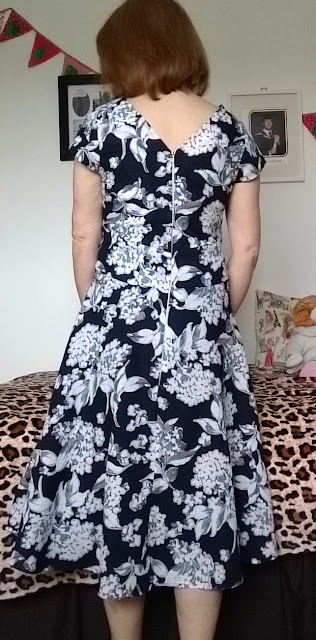 I like the back neckline, the front neckline is perhaps a little high for my usual taste but the lower back made me appreciate this pattern and how flattering and comfortable it is. I love it and will wear it a lot.
 I hope that you have enjoyed reading this post.
I have started to think more carefully about the type of clothes I make. At one time my wardrobe consisted almost entirely of business suits, but now I tend to wear very casual outfits of jeans and tops. I am currently experimenting with clothes somewhere in the middle. I do have a need for a smart dress or two, for lunches out and holidays, so this dress will be a very useful addition to my wardrobe, as it will be to yours.
For help and information in any of the products mentioned in my blogs please do not hesitate to contact Jaycotts. The contact details are in this link Contact Jaycotts
Angela
#dress #lining #simplicity #jaycotts #zip
It is definitely something which you must do for a special occasion dress but why not line a day dress and see how wonderful you feel when you wear it.
This pattern includes a lined bodice and if you choose the straight skirt a lining is included. It is however very easy to add a lining to the full skirt version

I chose a bold printed linen and cotton mix fabric which is widely available. This particular fabric was from Abakhan Fabrics. Linen on its own creases badly but the addition of cotton helps to prevent it happening quite so much. Other fabric choices are cotton lawn and viscose. Whatever you choose for this full skirted version it needs to drape well. If you are going to make the dress with the straight skirt then your fabric choices are almost endless, why not try a brocade for a cocktail dress or a slub silk for a wedding?
I used the same fabric to line the bodice and sleeves for coolness and comfort but I chose a good quality lightweight woven lining fabric in Navy for the skirt. This gives a swing to the skirt and makes that delightful swish as you walk.
You can use lining fabric for the bodice but remember that it will not be as cool to wear unless you pick a lining fabric made from natural fibres such as a pure silk or a cotton voile.
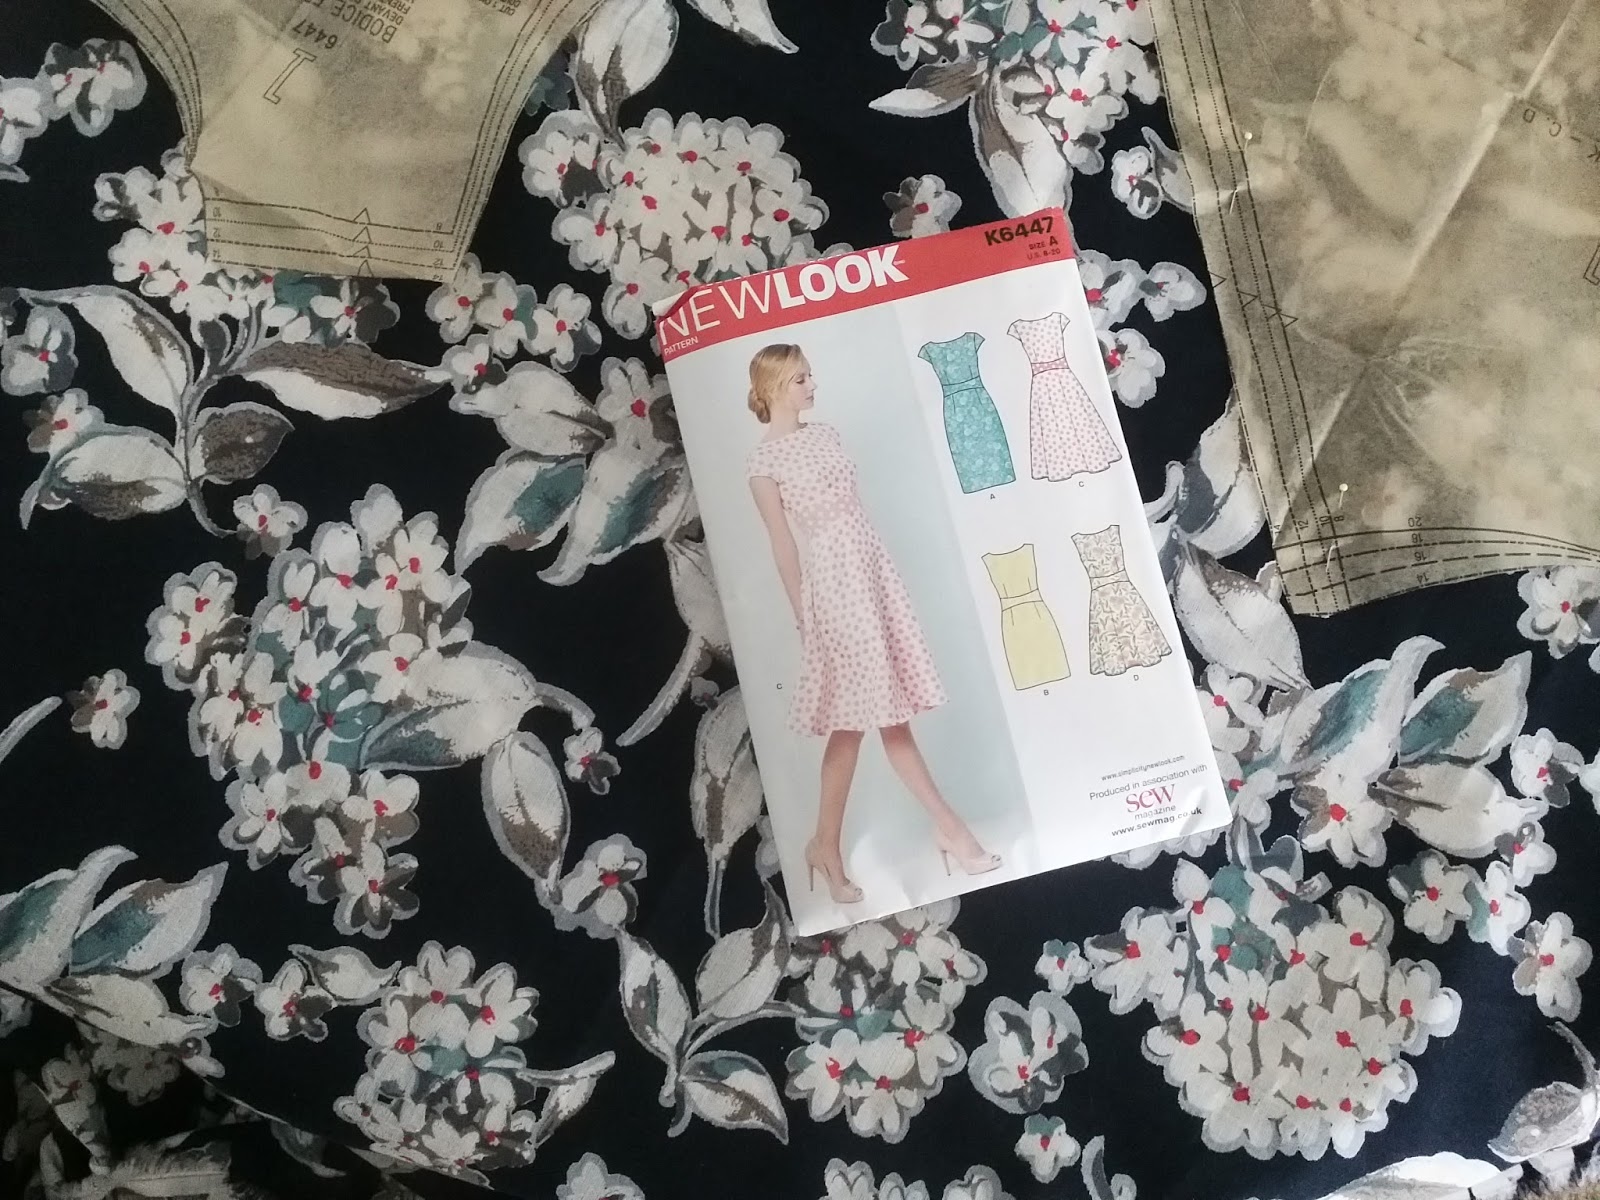
The pattern is by Simplicity and it is New look 6447 available from Jaycotts on this link NewLook 6447
There are options for a wide skirt or a pencil skirt and cap sleeves or sleeveless.
I cut out size 12 and it did fit well. I have a narrow back and needed to make a small adjustment during fitting, more about that later.

I like to get all the preparation out if the way first so the very first things I did was to stay stitch around the neckline on the bodice,this stops the neckline from stretching out of shape. Stay stitching is done just within the seam allowance.
We now need to interface the neckline of the bodice lining. For this you need a good quality iron on interfacing Interfacings. For this type of fabric I would choose a lightweight iron on. It is useful to purchase a small supply of various types and weights so that you never have to delay a project because you do not have any to hand.
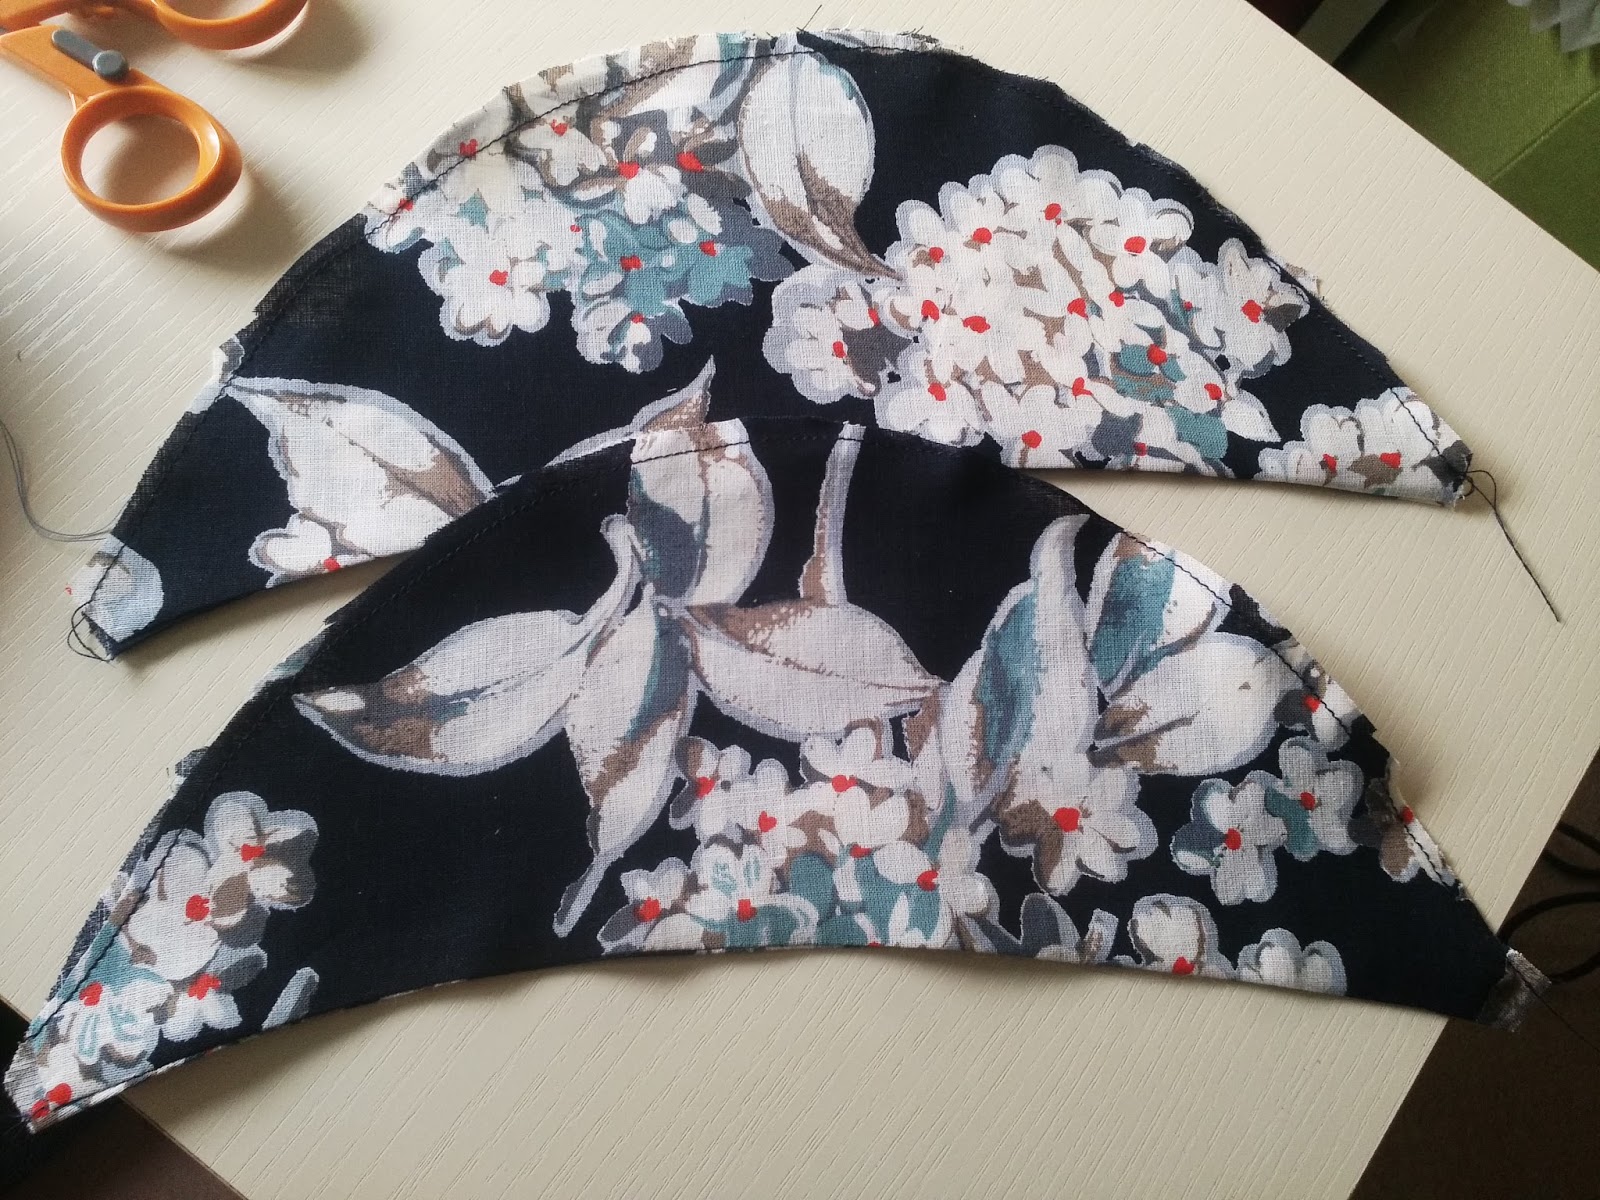
The pattern instructions are very easy to follow and explain each step in great detail. These are the cap sleeves which are also lined.
Remember to press every seam as you go, it honestly does make a huge difference, we want our garments to look Handmade not the dreaded homemade.
There are some pressing tools which you definitely need and some which are nice to have
I have written a blog post dedicated to Pressing, do read it and decide which tools you need. I suggest that you need
A sleeve board Sleeve ironing board
A pressing cloth Pressing cloth
A sleeve roll Sleeve pressing roll
Other items which you can add to your collection are a Tailors ham, finger guards, mini steam iron and more can be found on this link Pressing tools
If you would like to read the blog post for some handy hints and tips then it is on Jaycotts blog Pressing Matters , and also on my own blog Reviews of pressing tools
I cannot stress enough the importance of pressing, I always set up my pressing station whenever I get my sewing machine out, pretty soon it becomes second nature.

The pattern instructions are very clear and explain how to sandwich the sleeves between the bodice and the bodice lining. I do like the fact that even the sleeves are lined.
When you have stitched the bodice to the lining it is necessary to understitch the seam allowance to the lining. This helps to keep the lining in place during wear. I suggest that you grade the seam allowance by trimming the seam allowances making the side nearest to the lining slightly shorter. You then clip into the seam allowance to make sure that it lies flat she turned right sides out.
When you come to the actual stitching make sure that everything is lying flat and smooth. You will not be able to understitch the entire seam so stitch as far as you can.
This is the inside of my dress bodice showing the understitching
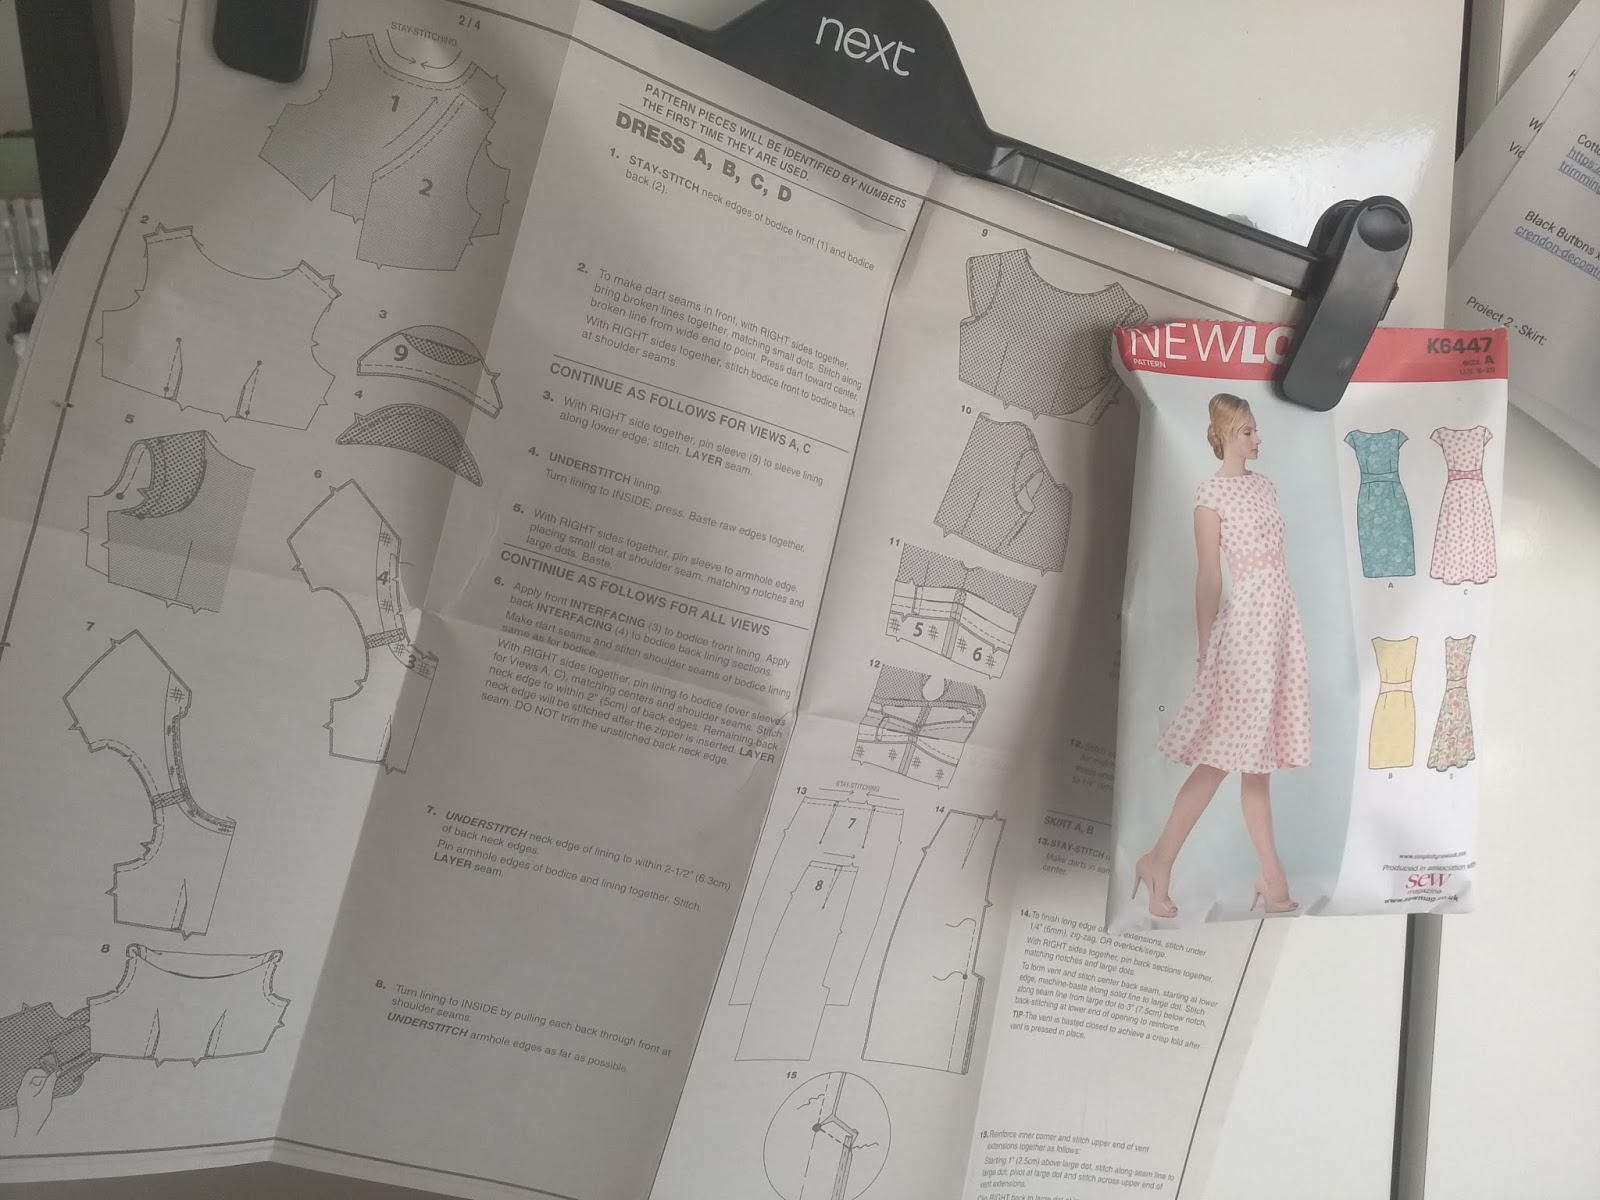
I wanted to give you a little tip. I always keep my pattern instructions fastened to a clippy hanger along with the pattern envalope to make it easy to refer to when I am sewing.
When it comes to trying the bodice on for fit, how do you temporarily close the back? This is what I do. I pin and tack a zip to the back of the garment. It doesn't matter about the length of colour or type of zip,all that matters is that you can close it. It doesn't take long but does help to create a good fit.

I have a narrow back and I suspected that the dress may not fit at the back. I was right! I adjusted the positioning of the zip until I was happy and drew a new seam line. Do be careful not to take off too much of the seam allowance or the garment will be too tight.
This is the only alteration I needed to make to this pattern.
Jaycotts have a huge selection of zips, I used a concealed zip but you may wish to use a lapped or centred zip. ( More about them in a future blog post) do look at this huge selection of zips for all purposes Zips , zips and more zips

The dress was made up according to the comprehensive pattern instructions. So the bodice was lined and the zip inserted. For the skirt lining I cut out the skirt again but this time in a good quality taffeta lining. This was then stitched to the waistband and pressed.
As you can see the dress looks really good on the inside.
I suggest that you sew a narrow machine hem on the dress, there is a lot of fabric and it would take forever to sew it by hand. Then reduce the length of the lining by a good inch and hem that by machine in the same way.

The lining is so fine that it adds no bulk to the dress whatsoever but it does support the skirt very well and gives it a really professional finish. The skirt hangs exceptionally well with the inclusion of a lining.

Most patterns can be lined. It does away with the need for facings and is in some ways easier to make.
Do incorporate a lining into your next sewing project, you will be impressed at the huge difference it makes!

I have started to think more carefully about the type of clothes I make. At one time my wardrobe consisted almost entirely of business suits, but now I tend to wear very casual outfits of jeans and tops. I am currently experimenting with clothes somewhere in the middle. I do have a need for a smart dress or two, for lunches out and holidays, so this dress will be a very useful addition to my wardrobe, as it will be to yours.
For help and information in any of the products mentioned in my blogs please do not hesitate to contact Jaycotts. The contact details are in this link Contact Jaycotts
Angela
#dress #lining #simplicity #jaycotts #zip
--
Posted By Blogger to #SewAngelicThreads on 6/28/2017 08:59:00 pm